
Geometry Layers
What is Layer Data?
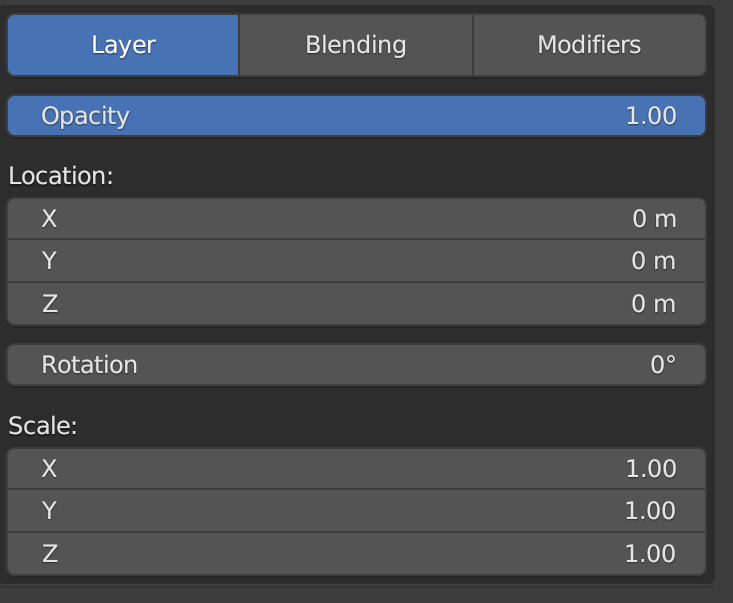
The "Layer Data" tab is where you can perform basic manipulations on a specific layer's geometry. This section contains "core controls" that are essential for fully controlling the layer's behavior (although this does not include its interaction with other layers).
Within this tab, you can adjust the layer's height values, noise types, noise sub-types, and transform values for location, rotation, and scale. Additionally, advanced controls are available for making more precise adjustments to the sub-noise values of the geometry. These controls are not necessary and are hidden by default, but provide greater flexibility for generating specific results.
It is important to note that not all layer types have the same controls. For example, a Noise layer has more controls available in this section than a Heightmap layer. Group layers, on the other hand, only have transform controls that apply to all layers within the group.
Notice: These controls may change over time. Please make sure you're on the latest version of the tool to ensure what you see in these docs are what is available in the addon. If we've missed something from these docs, please use the feedback form at the bottom to advise of the changes we must make. Thank you.
Group
The Group layer is a layer that contains other layers. Any transforms, blending, or modifiers applied to a group layer will apply to all layers inside the group layer.
The ROOT layer is also a group layer. Clicking the [...] at the far left of the layer list's breadcrumbs you'll be take to the top most level where you can acces the ROOT layer and apply modifiers to the entire terrain. No other layers allowed on this root level, nor can you move or remove the ROOT layer.
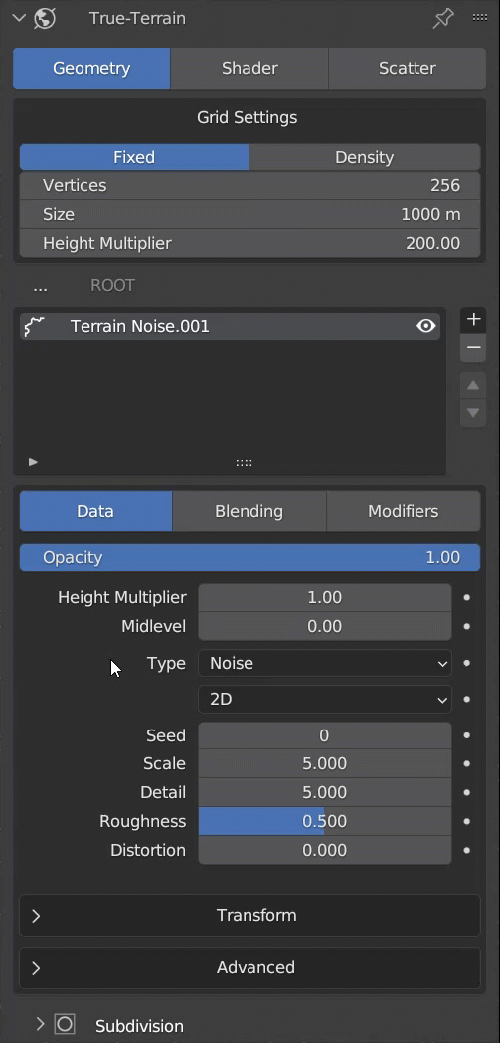
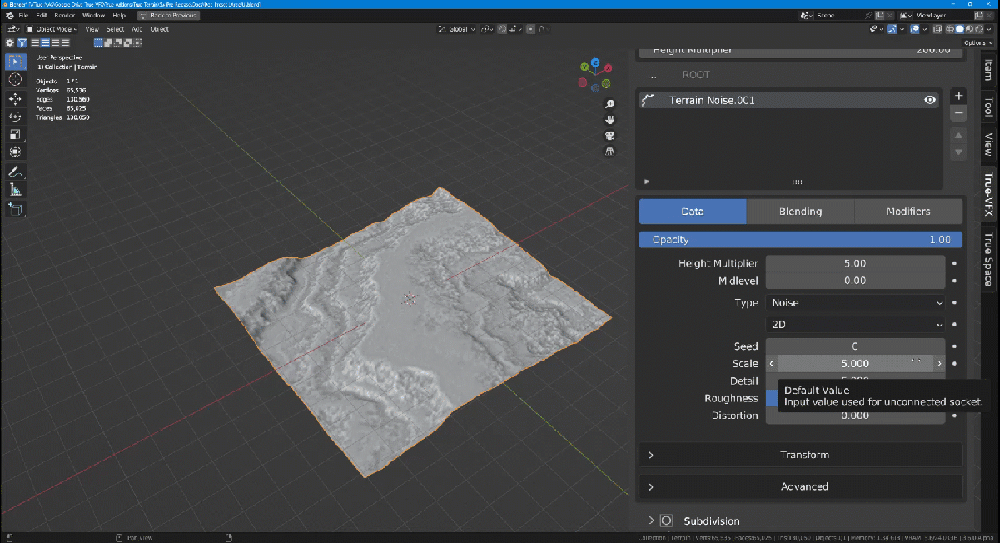
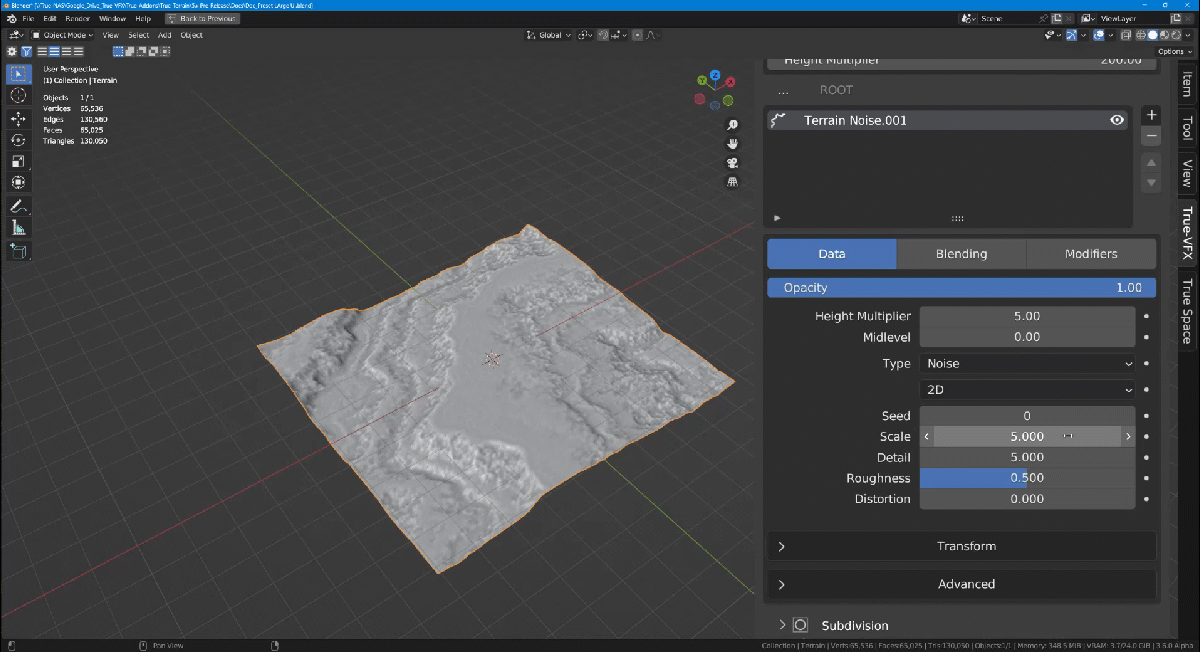
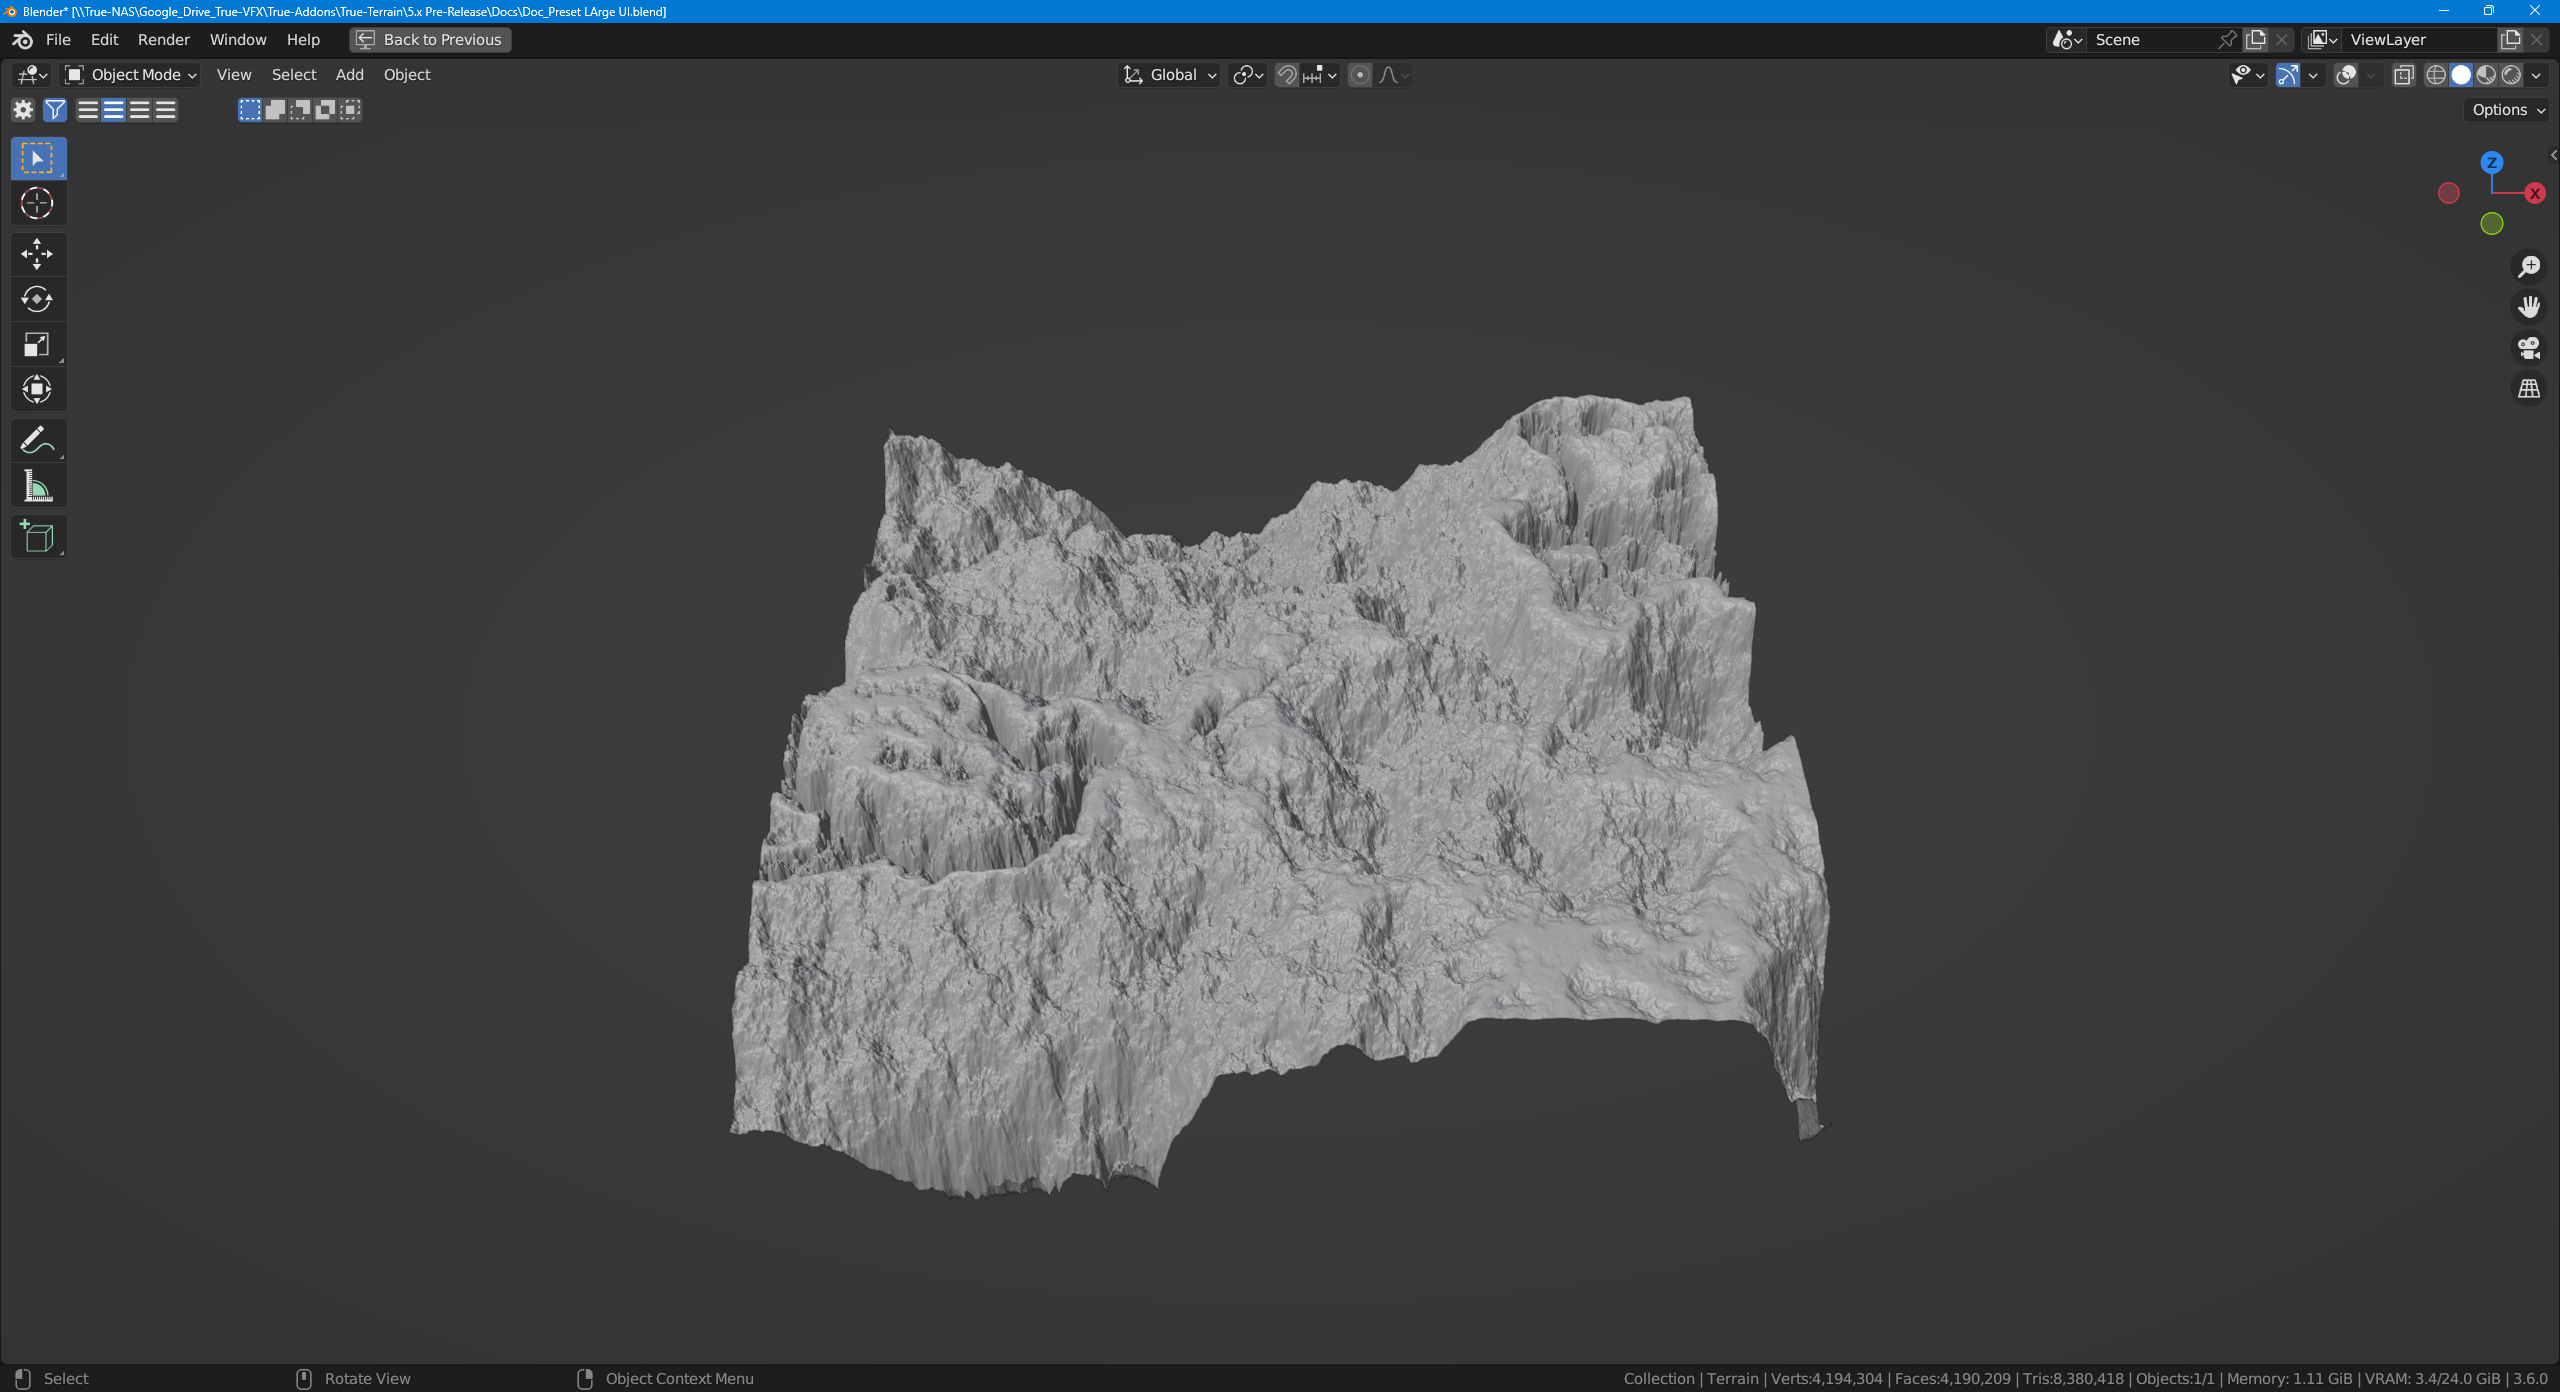
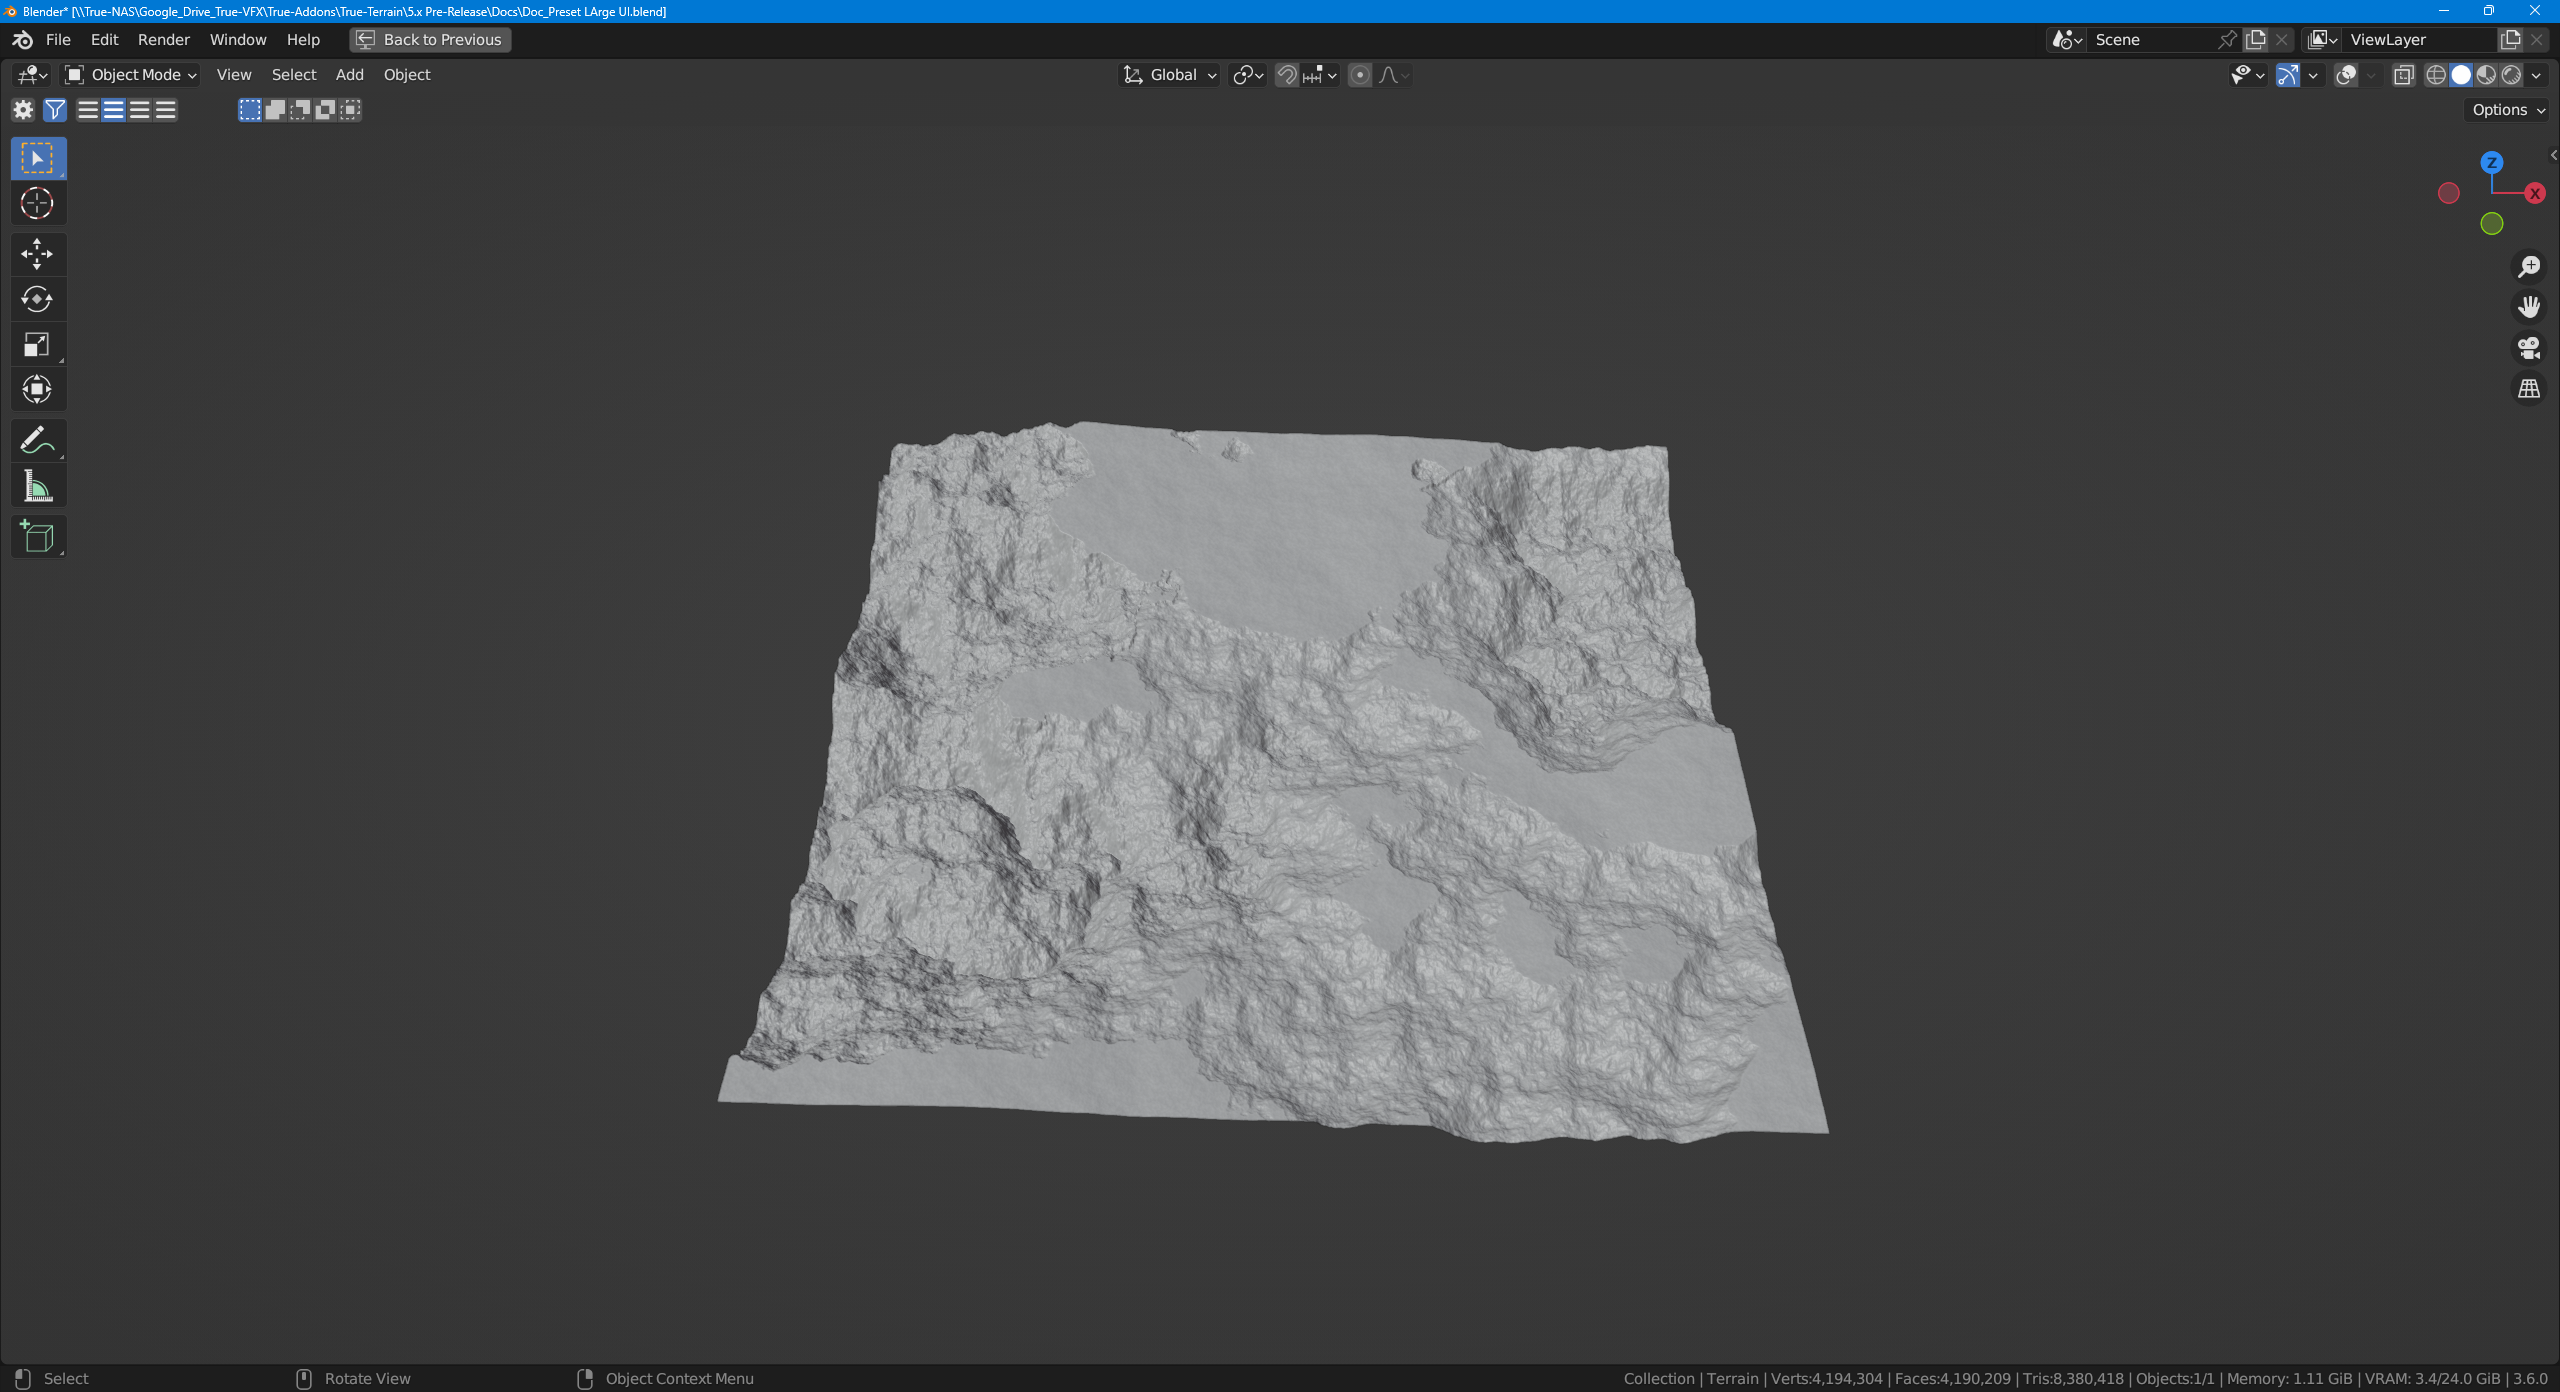
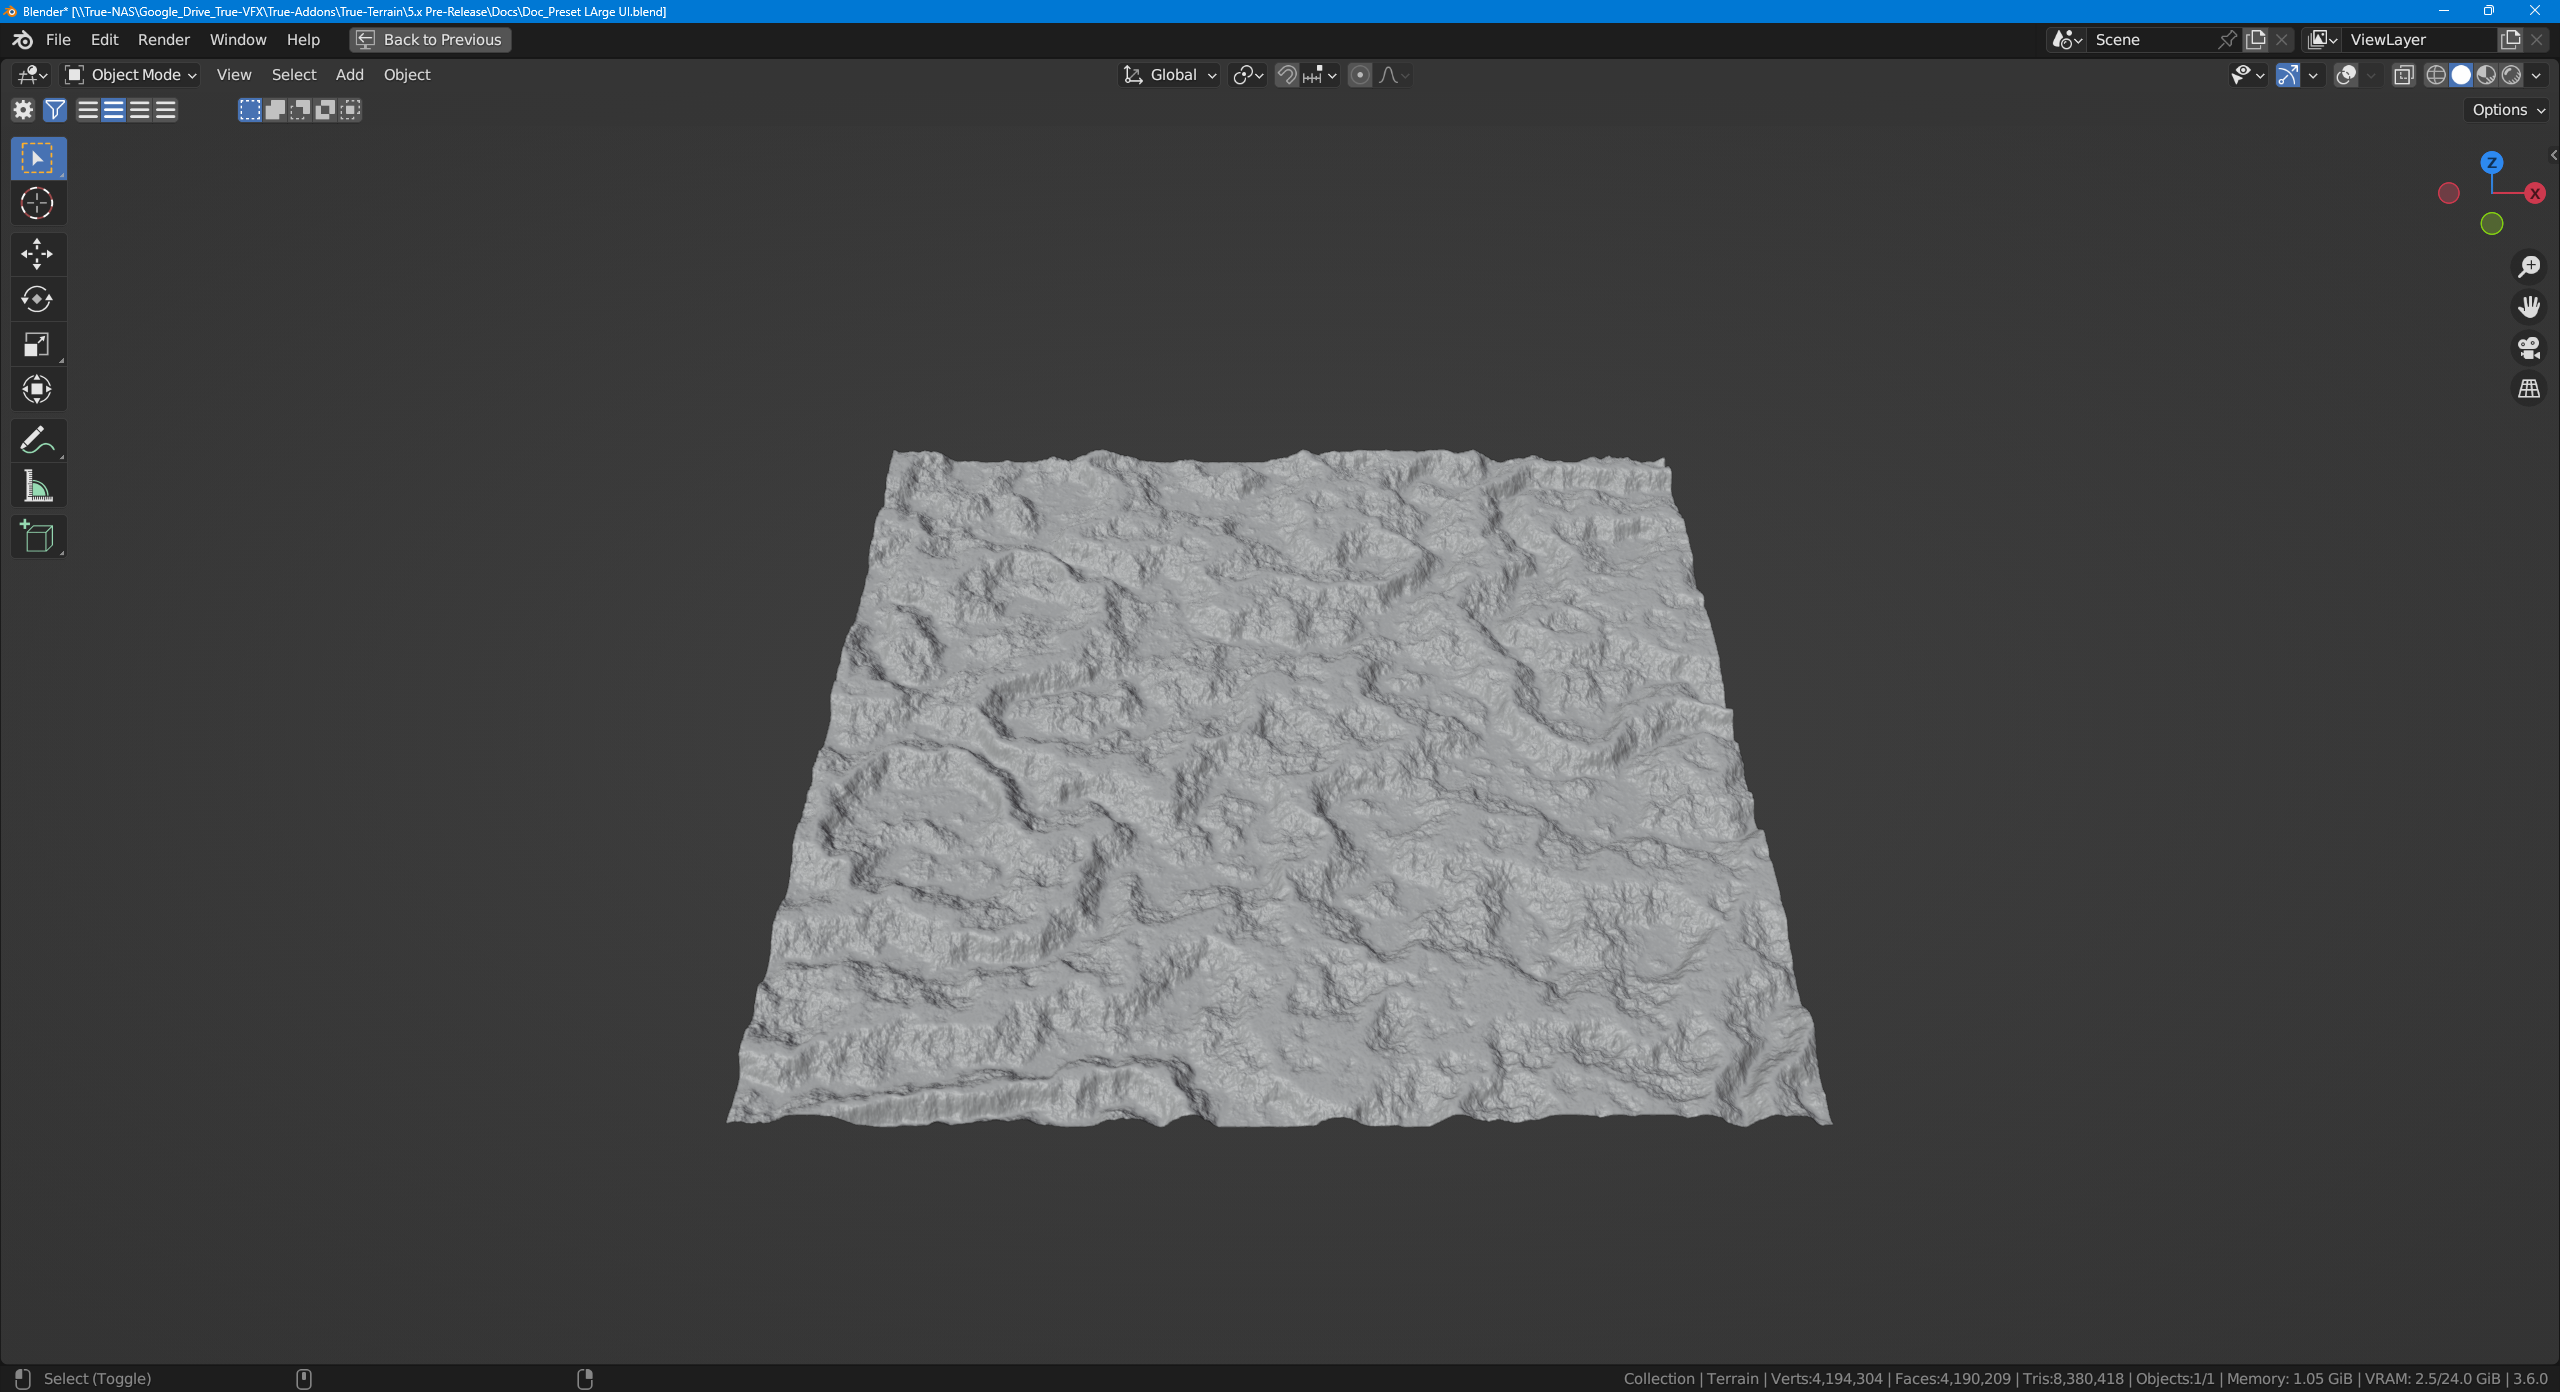
Noise Data

Noise Basics
Height Multiplier
This value will change the height intensity/strength. This will NOT move the height upward only; it's designed to multiply the lowest and highest values, meaning if a value is above 0 then it will positively increase, if a value is below 0 it will negatively decrease. Bear this in mind if you wish for no value to go below 0.
Midlevel
This value adjust the "mid-level" (0 point in 3d space on the Z axis). Increasing this value will move the mesh higher, and drecreasing this value will move the mesh lower. The main use-case for this is to re-adjust the terrain if you wish to have one layer at a different midlevel to another.
Seed
This value goes between 0 to ± and will provide a totally random noise value. This is useful if you wish to quickly try out different shapes.

Scale
When you adjust the "scale", the noise pattern changes. This is because random values are added to the coordinates of a surface to create noise patterns.
Altering the scale impacts the spacing between the noise values by adjusting the virtual size of the surface. Decreasing the scale causes the noise to appear more spread out, while increasing the scale makes it more compact.
Additionally, it's important to note that changing the scale may affect the terrain's overall appearance. Thus, it's recommended to experiment with different settings to achieve the desired outcome.
Detail
Detail in the context of noise textures typically refers to the level of complexity or intricacy in the generated texture. Higher detail levels generally mean more small-scale variations and more complex patterns.In some noise functions, this might be controlled by the "octaves" parameter, where more octaves lead to more detail.
Roughness
Roughness controls the amplitude of the smaller detail. With higher roughness, the texture will have more contrast and appear more chaotic. Lower roughness values will make the texture smoother and more blended.This is often controlled by a parameter called "persistence" in many noise functions. Roughness is also a key property in physically based rendering (PBR) materials, controlling how rough or smooth a surface appears, which in turn affects how it reflects light.
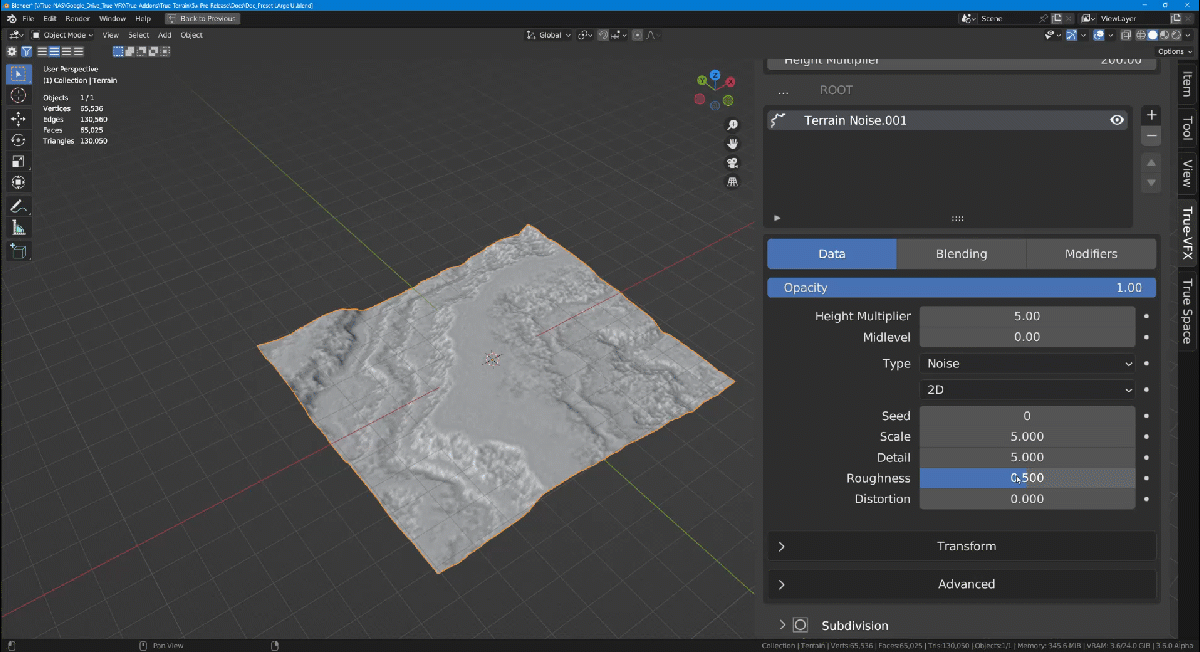
Distortion
Distortion refers to the warping or twisting of the noise pattern. Adding distortion can create more organic or unpredictable patterns, which can be useful for creating natural-looking textures like rock surfaces or turbulent water.Distortion is often achieved by using one noise function to warp the coordinates used by another, which can give a more natural, organic appearance to the result.
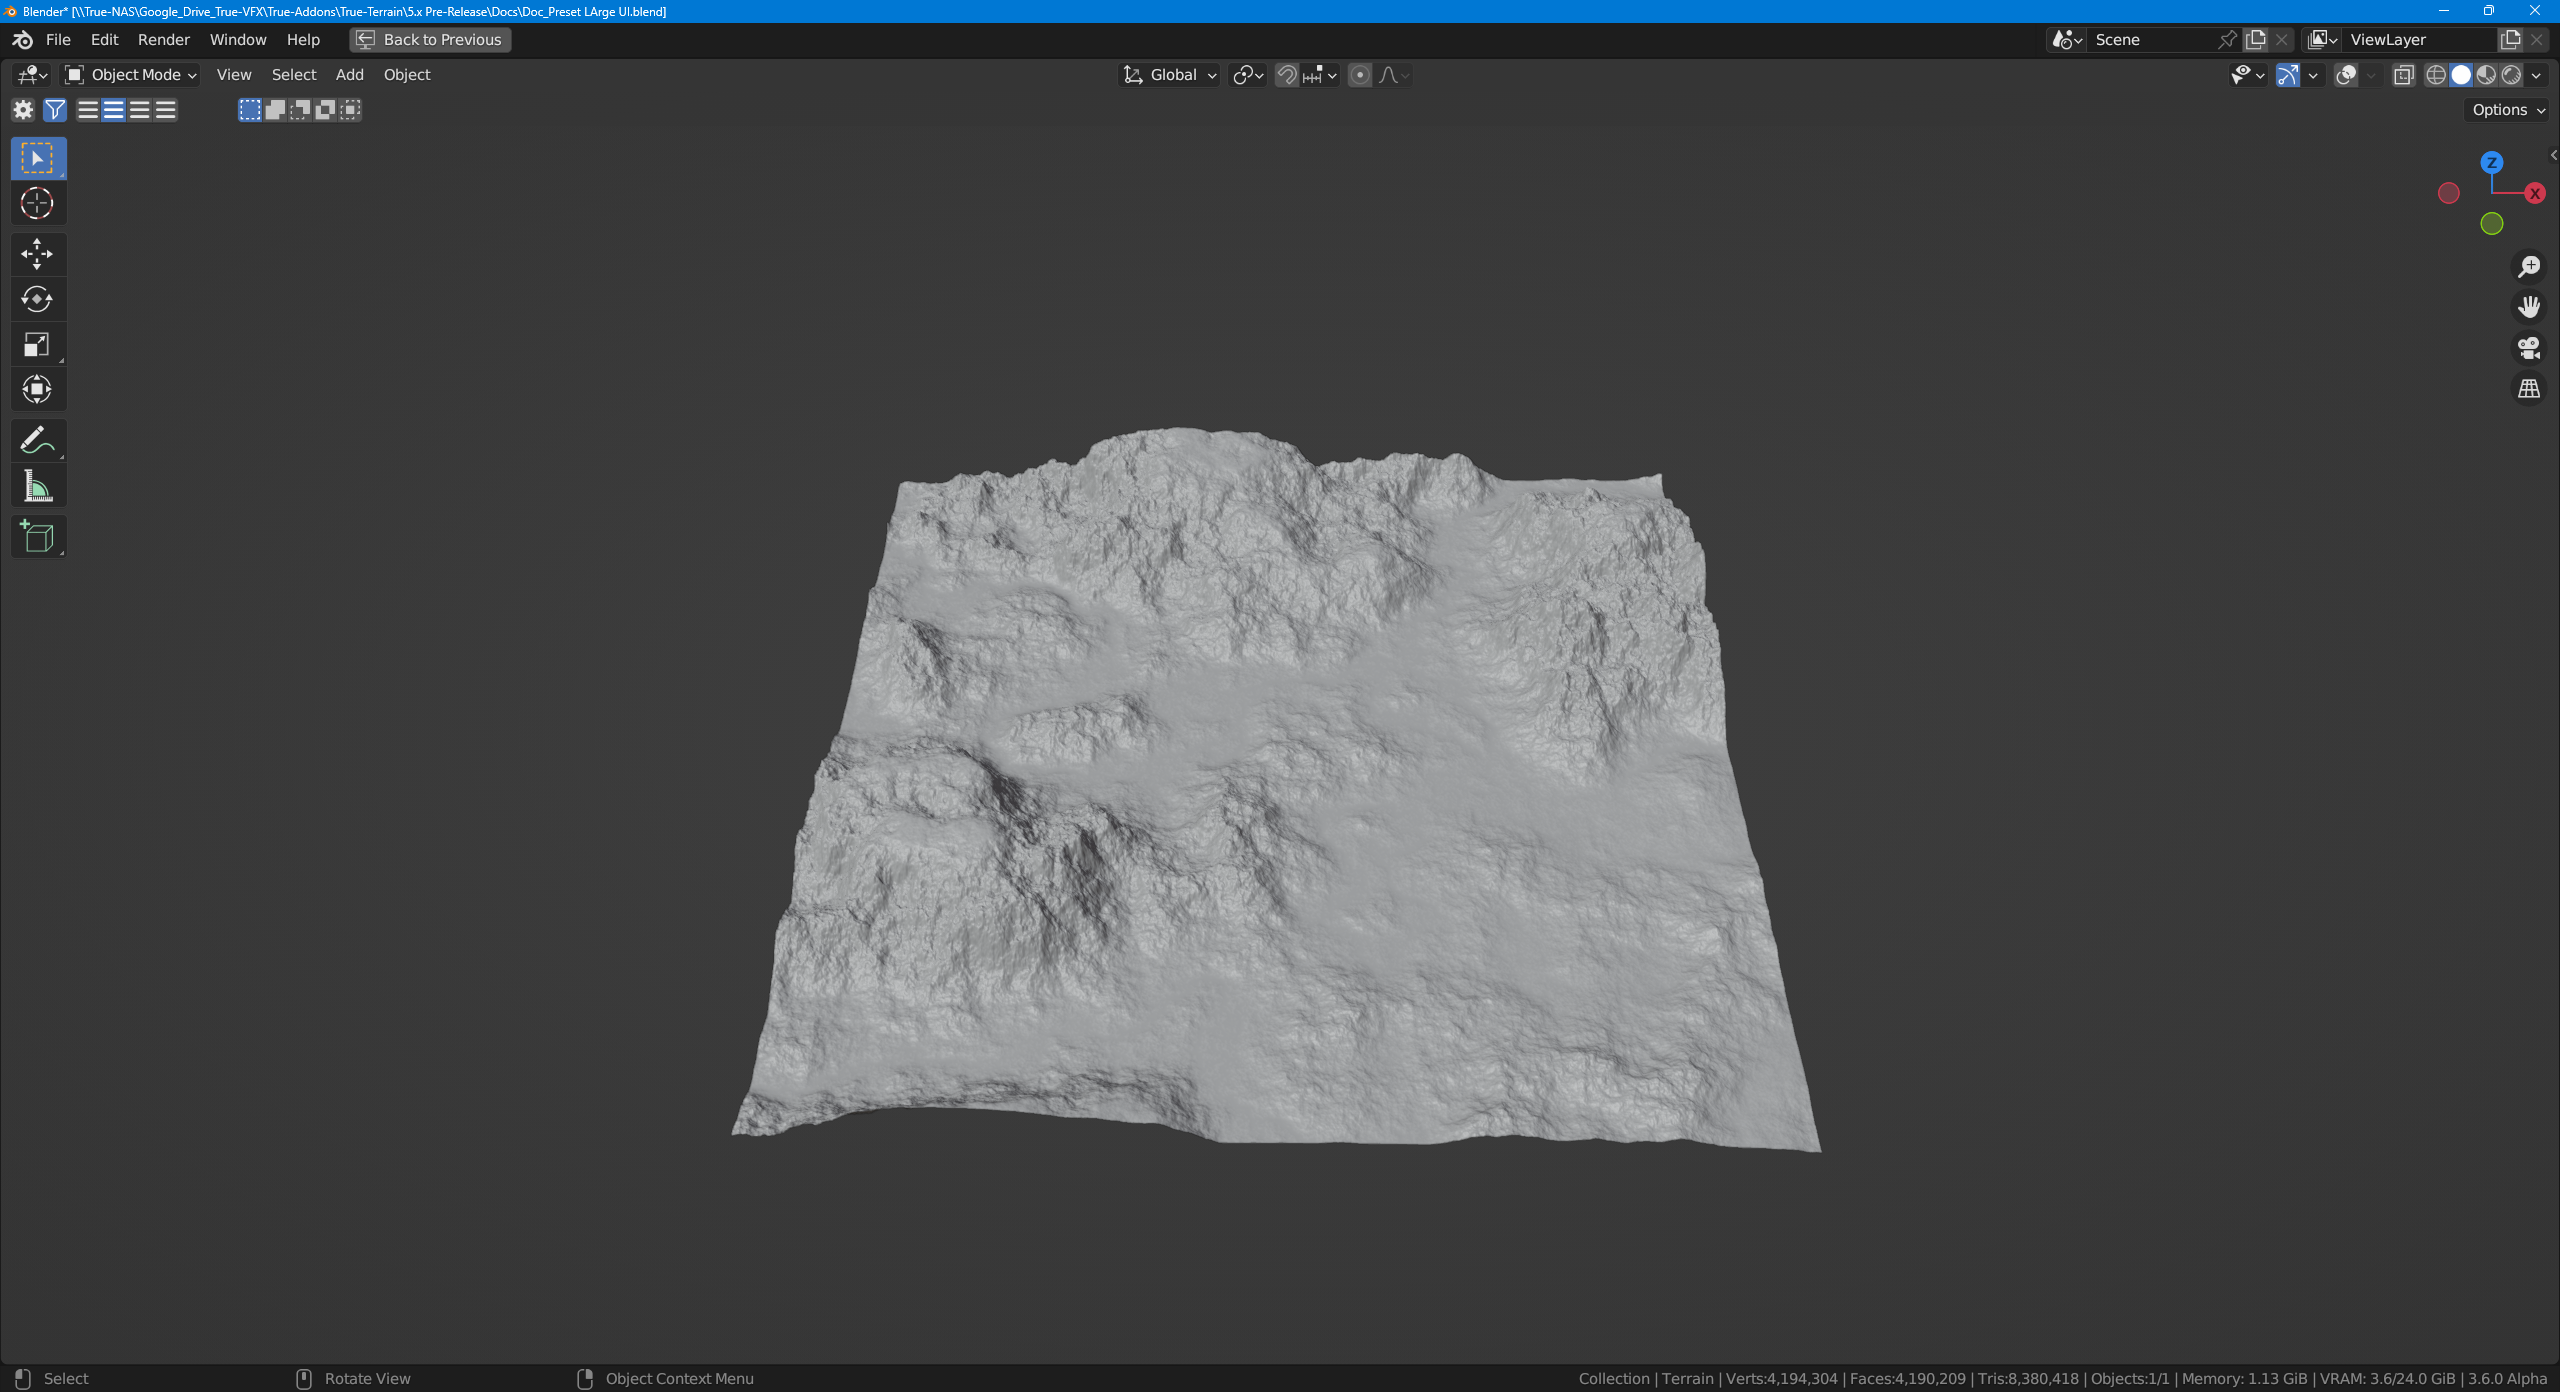
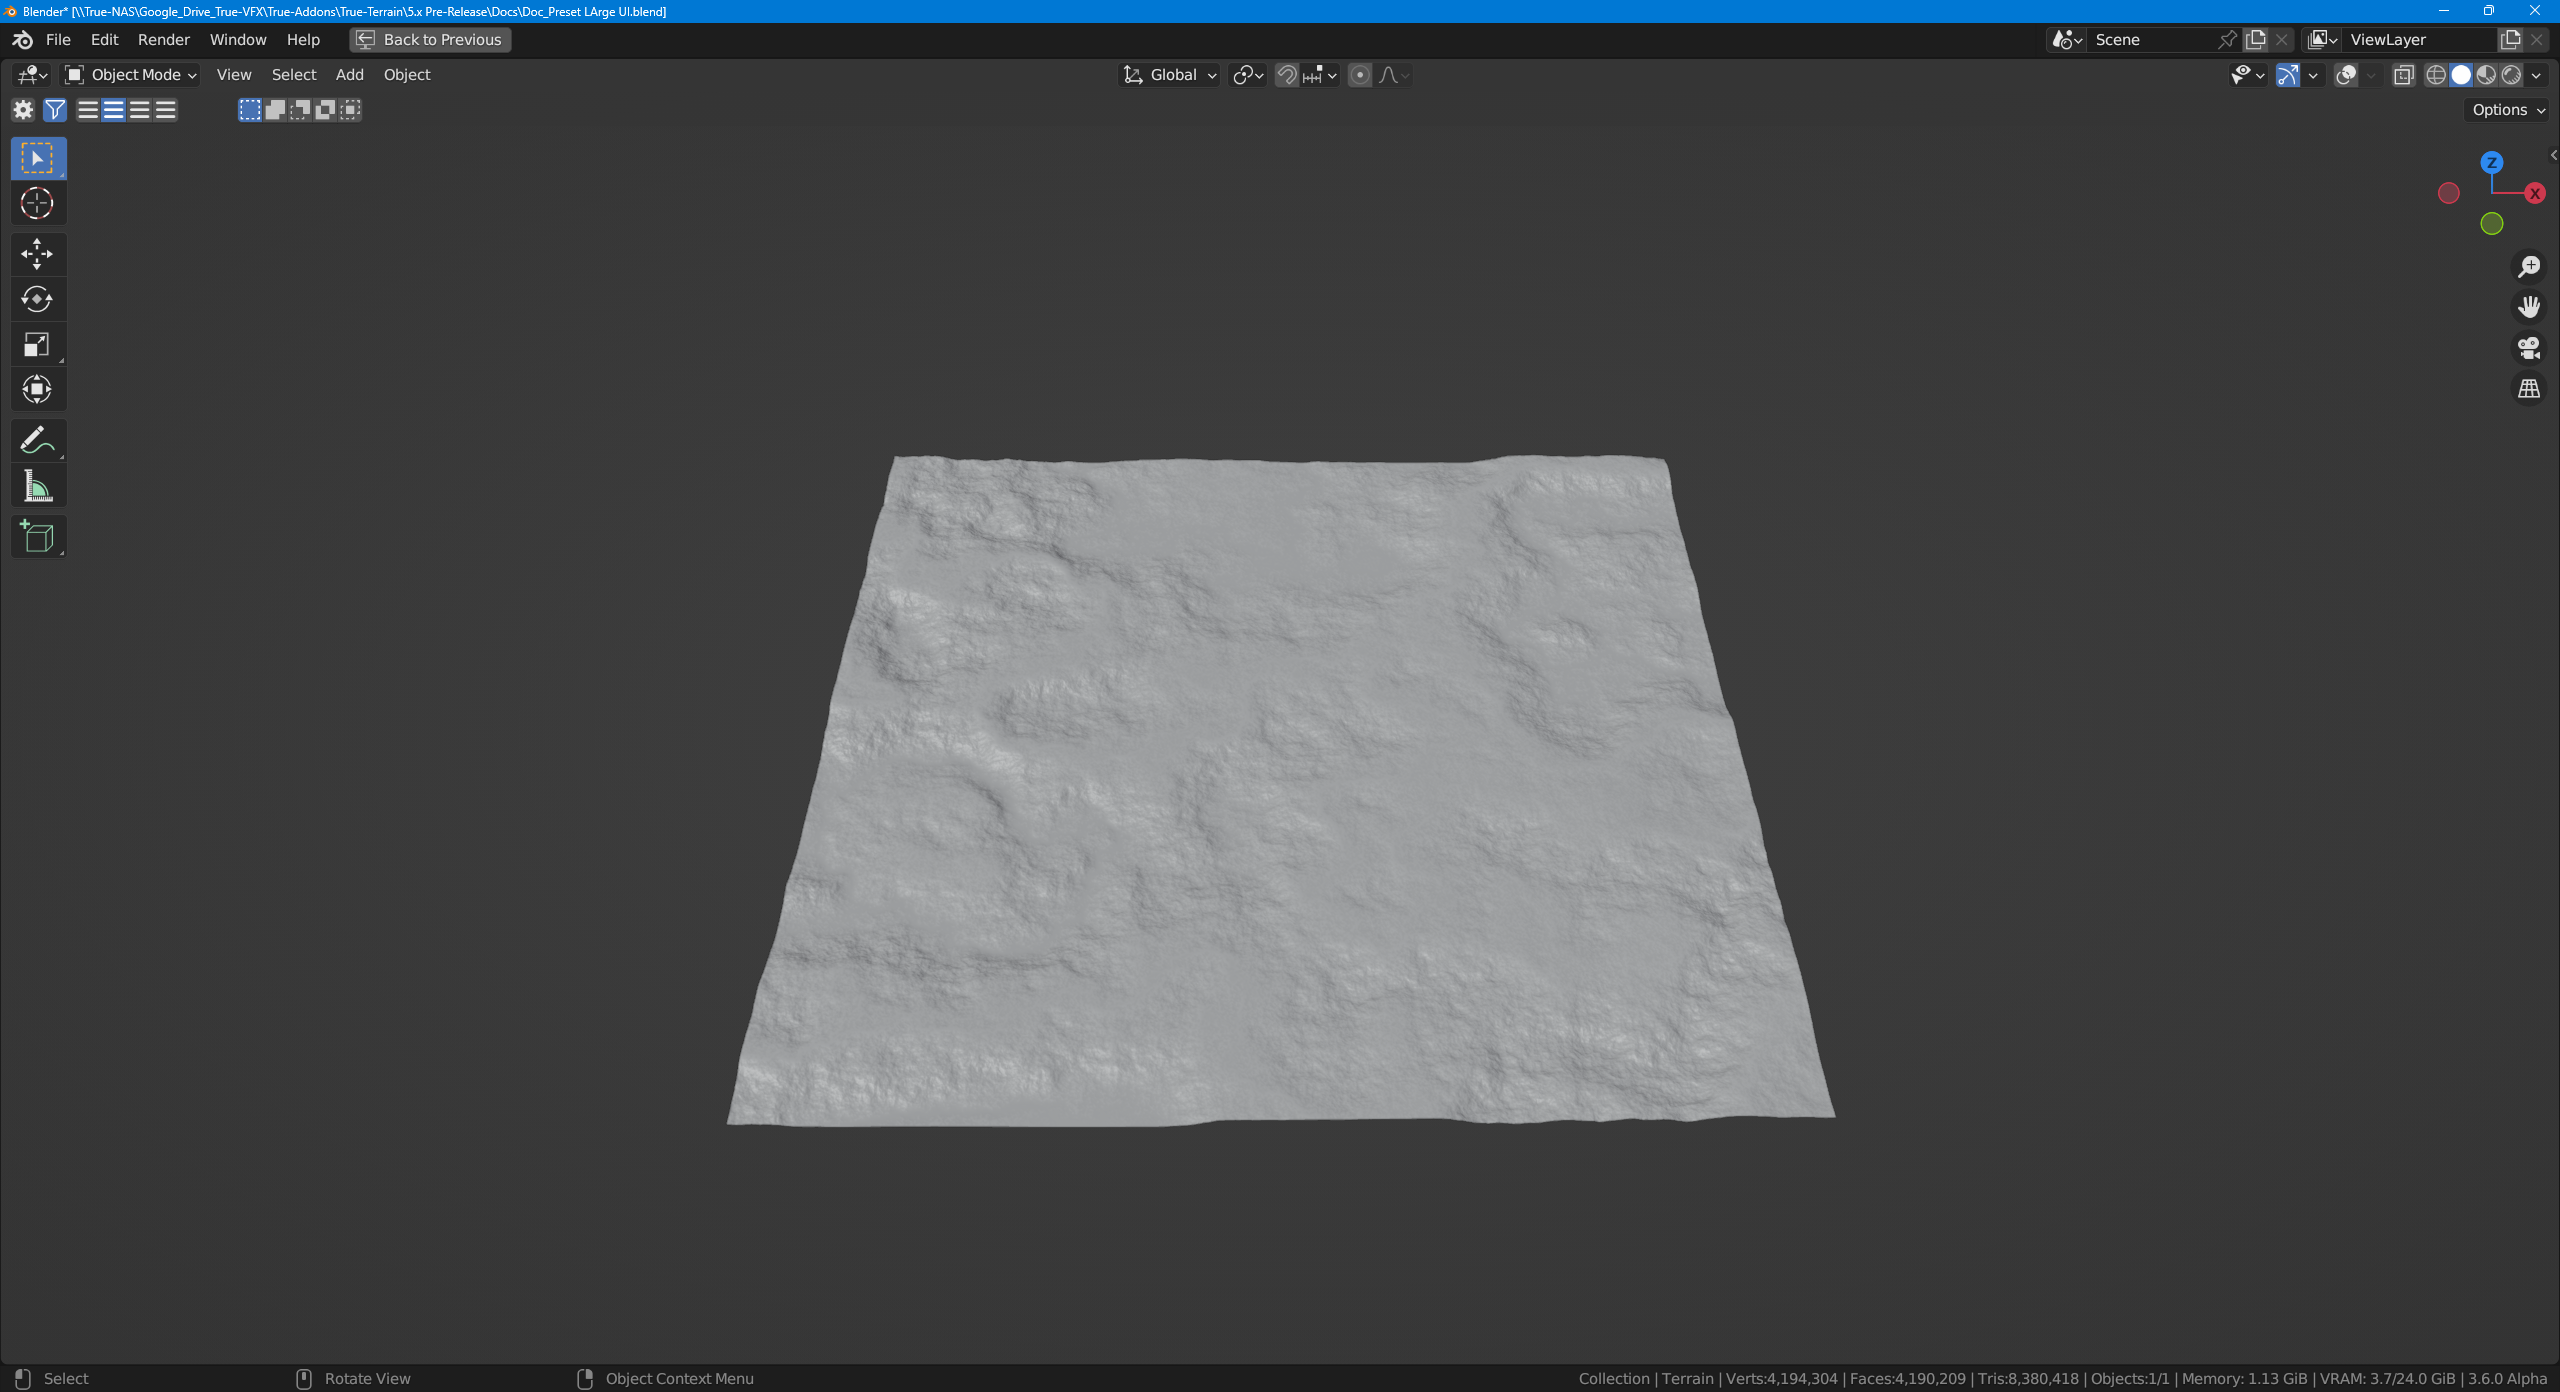
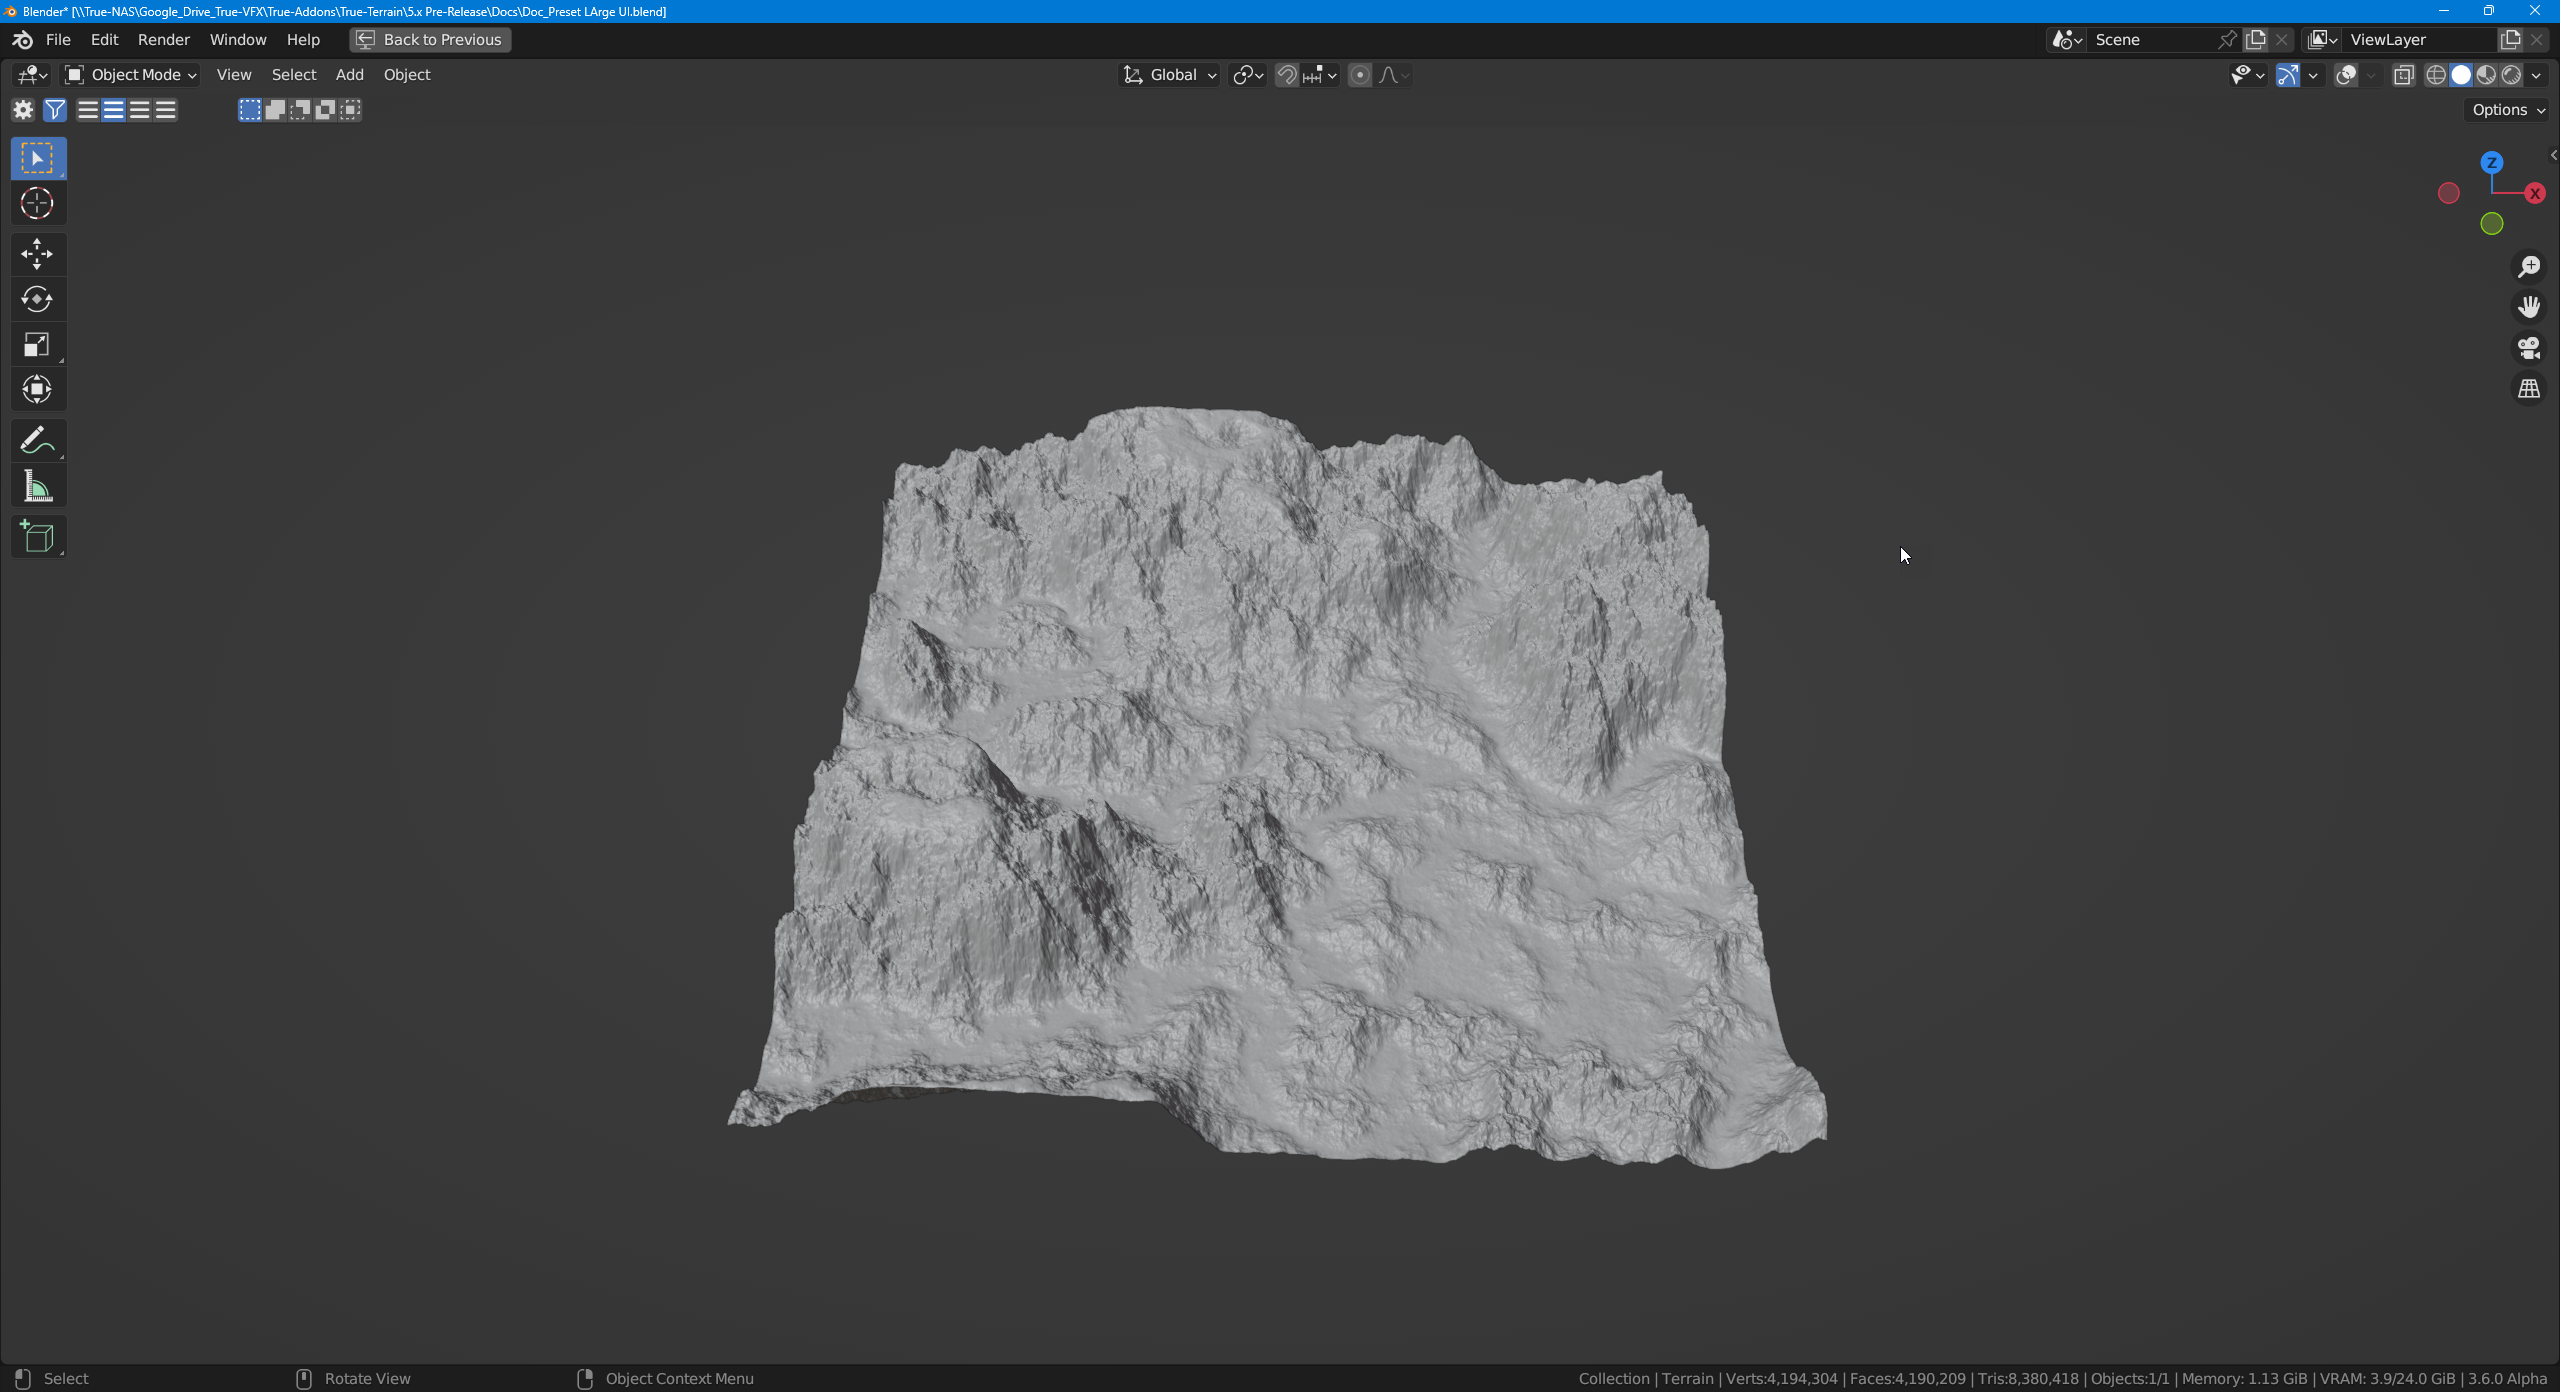
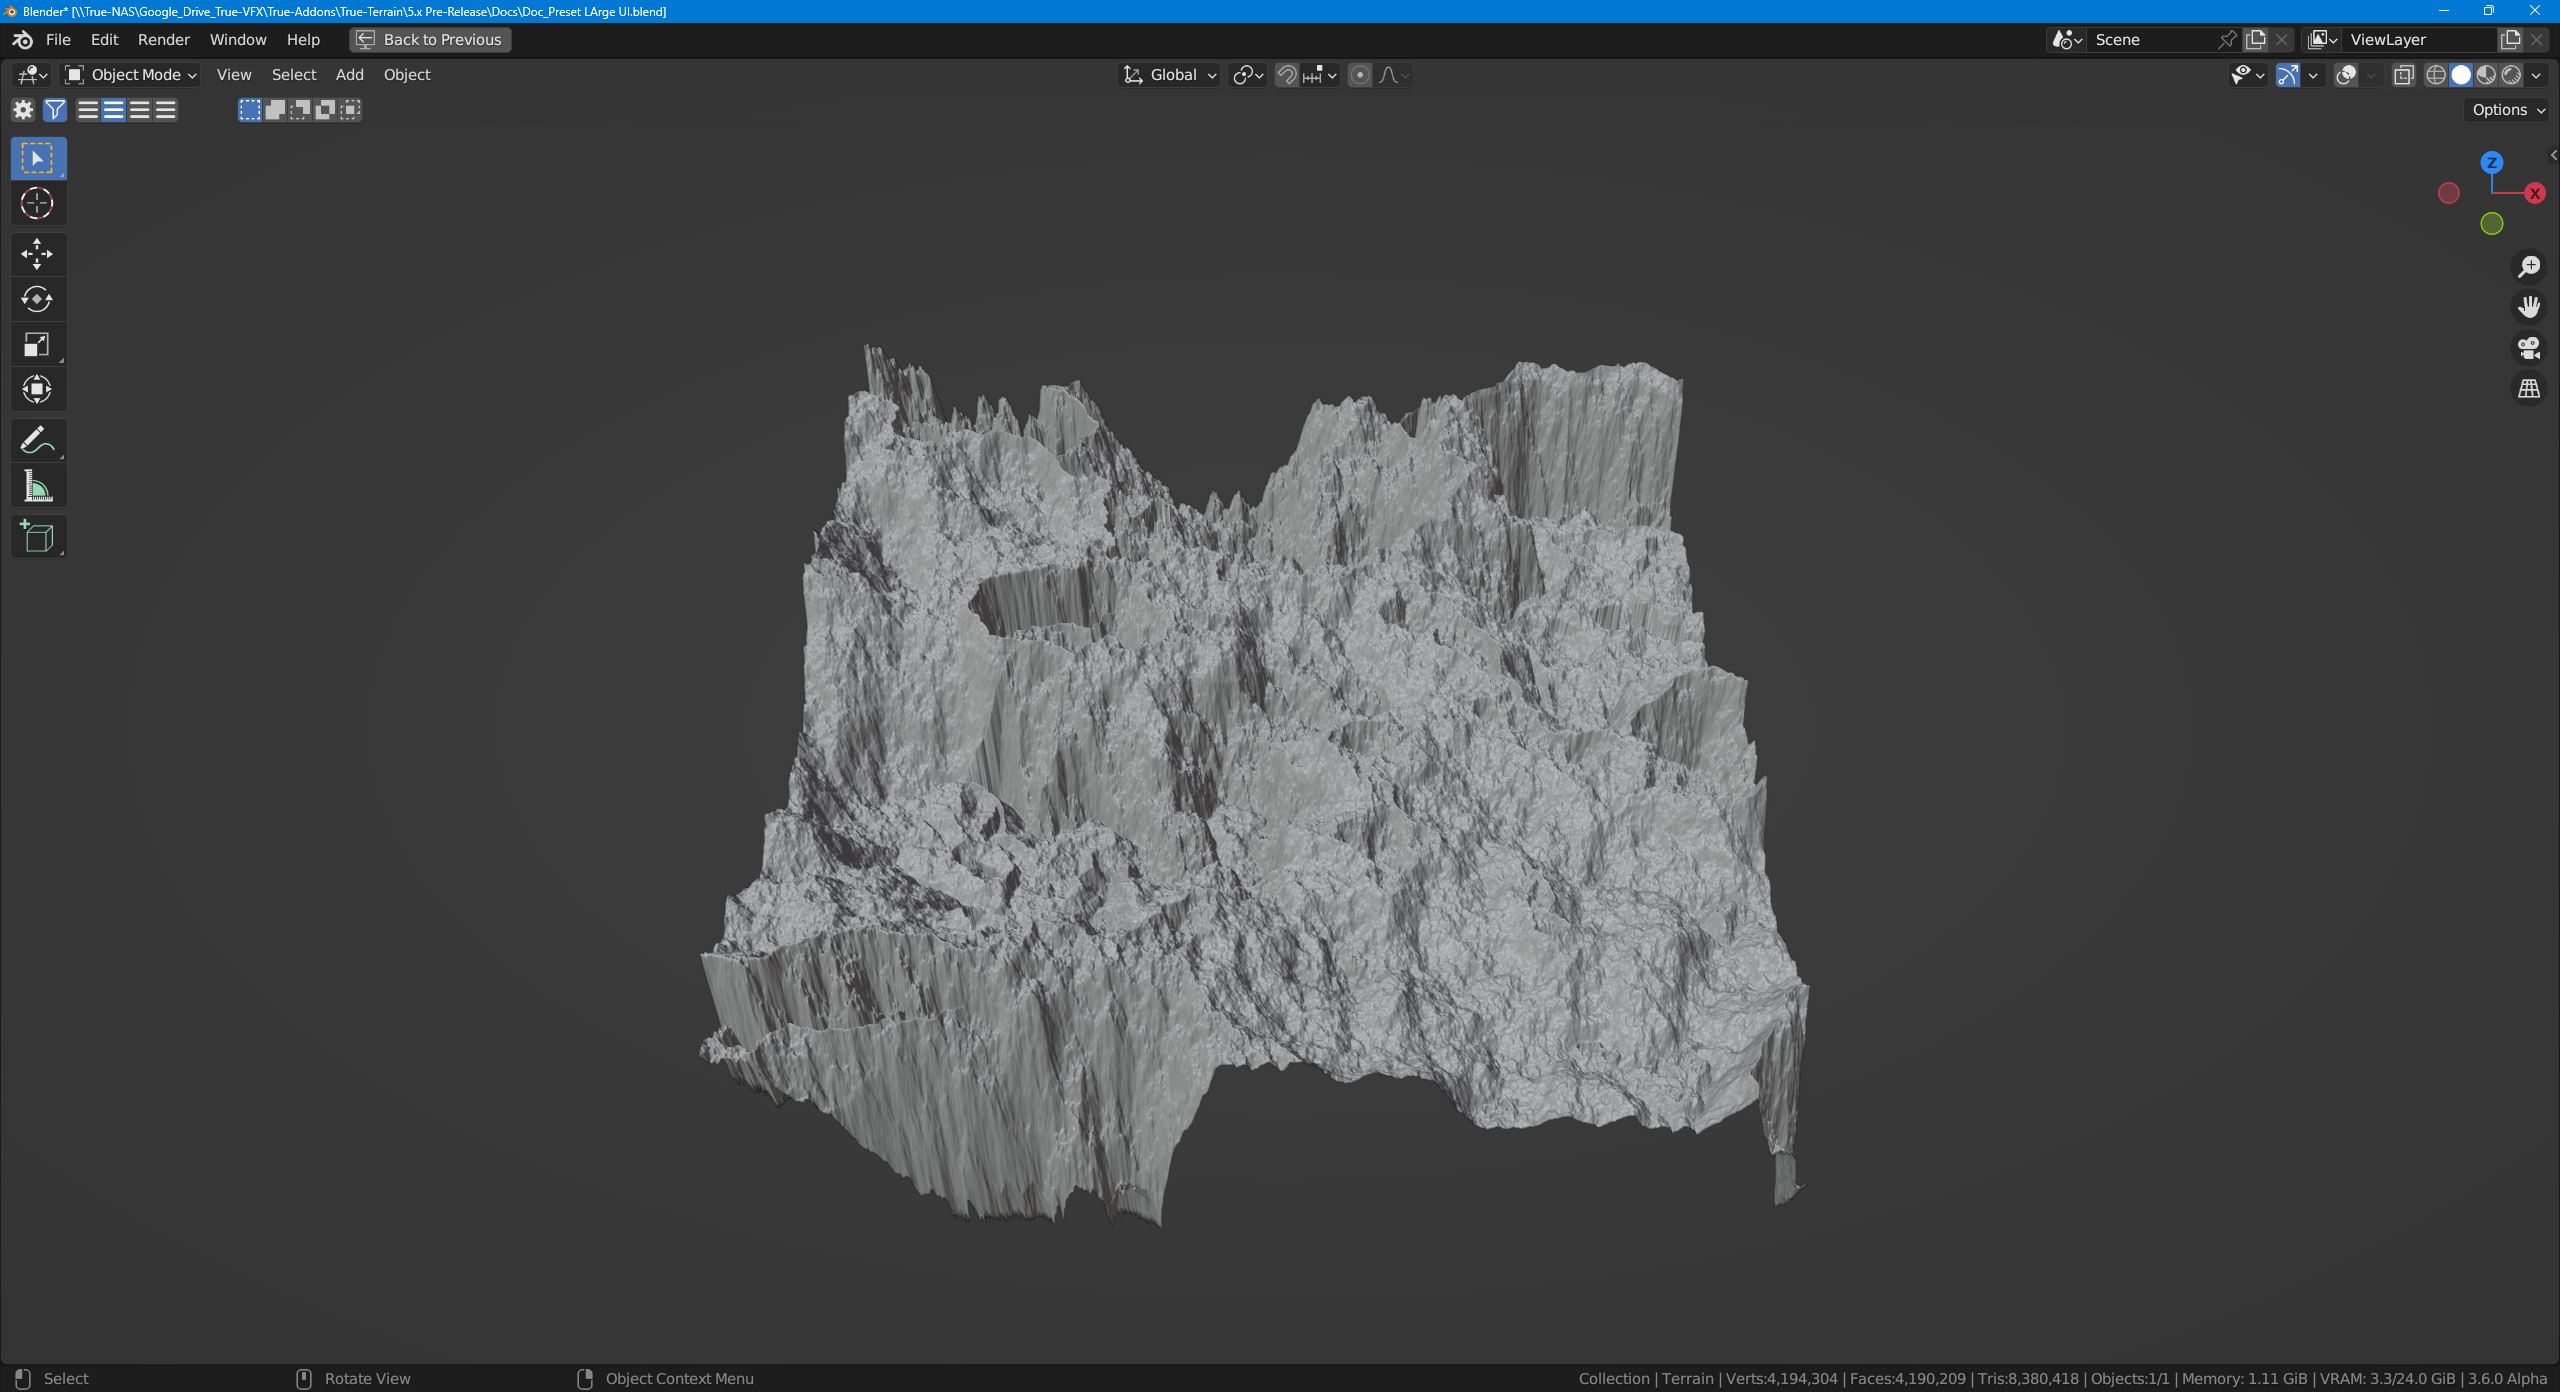
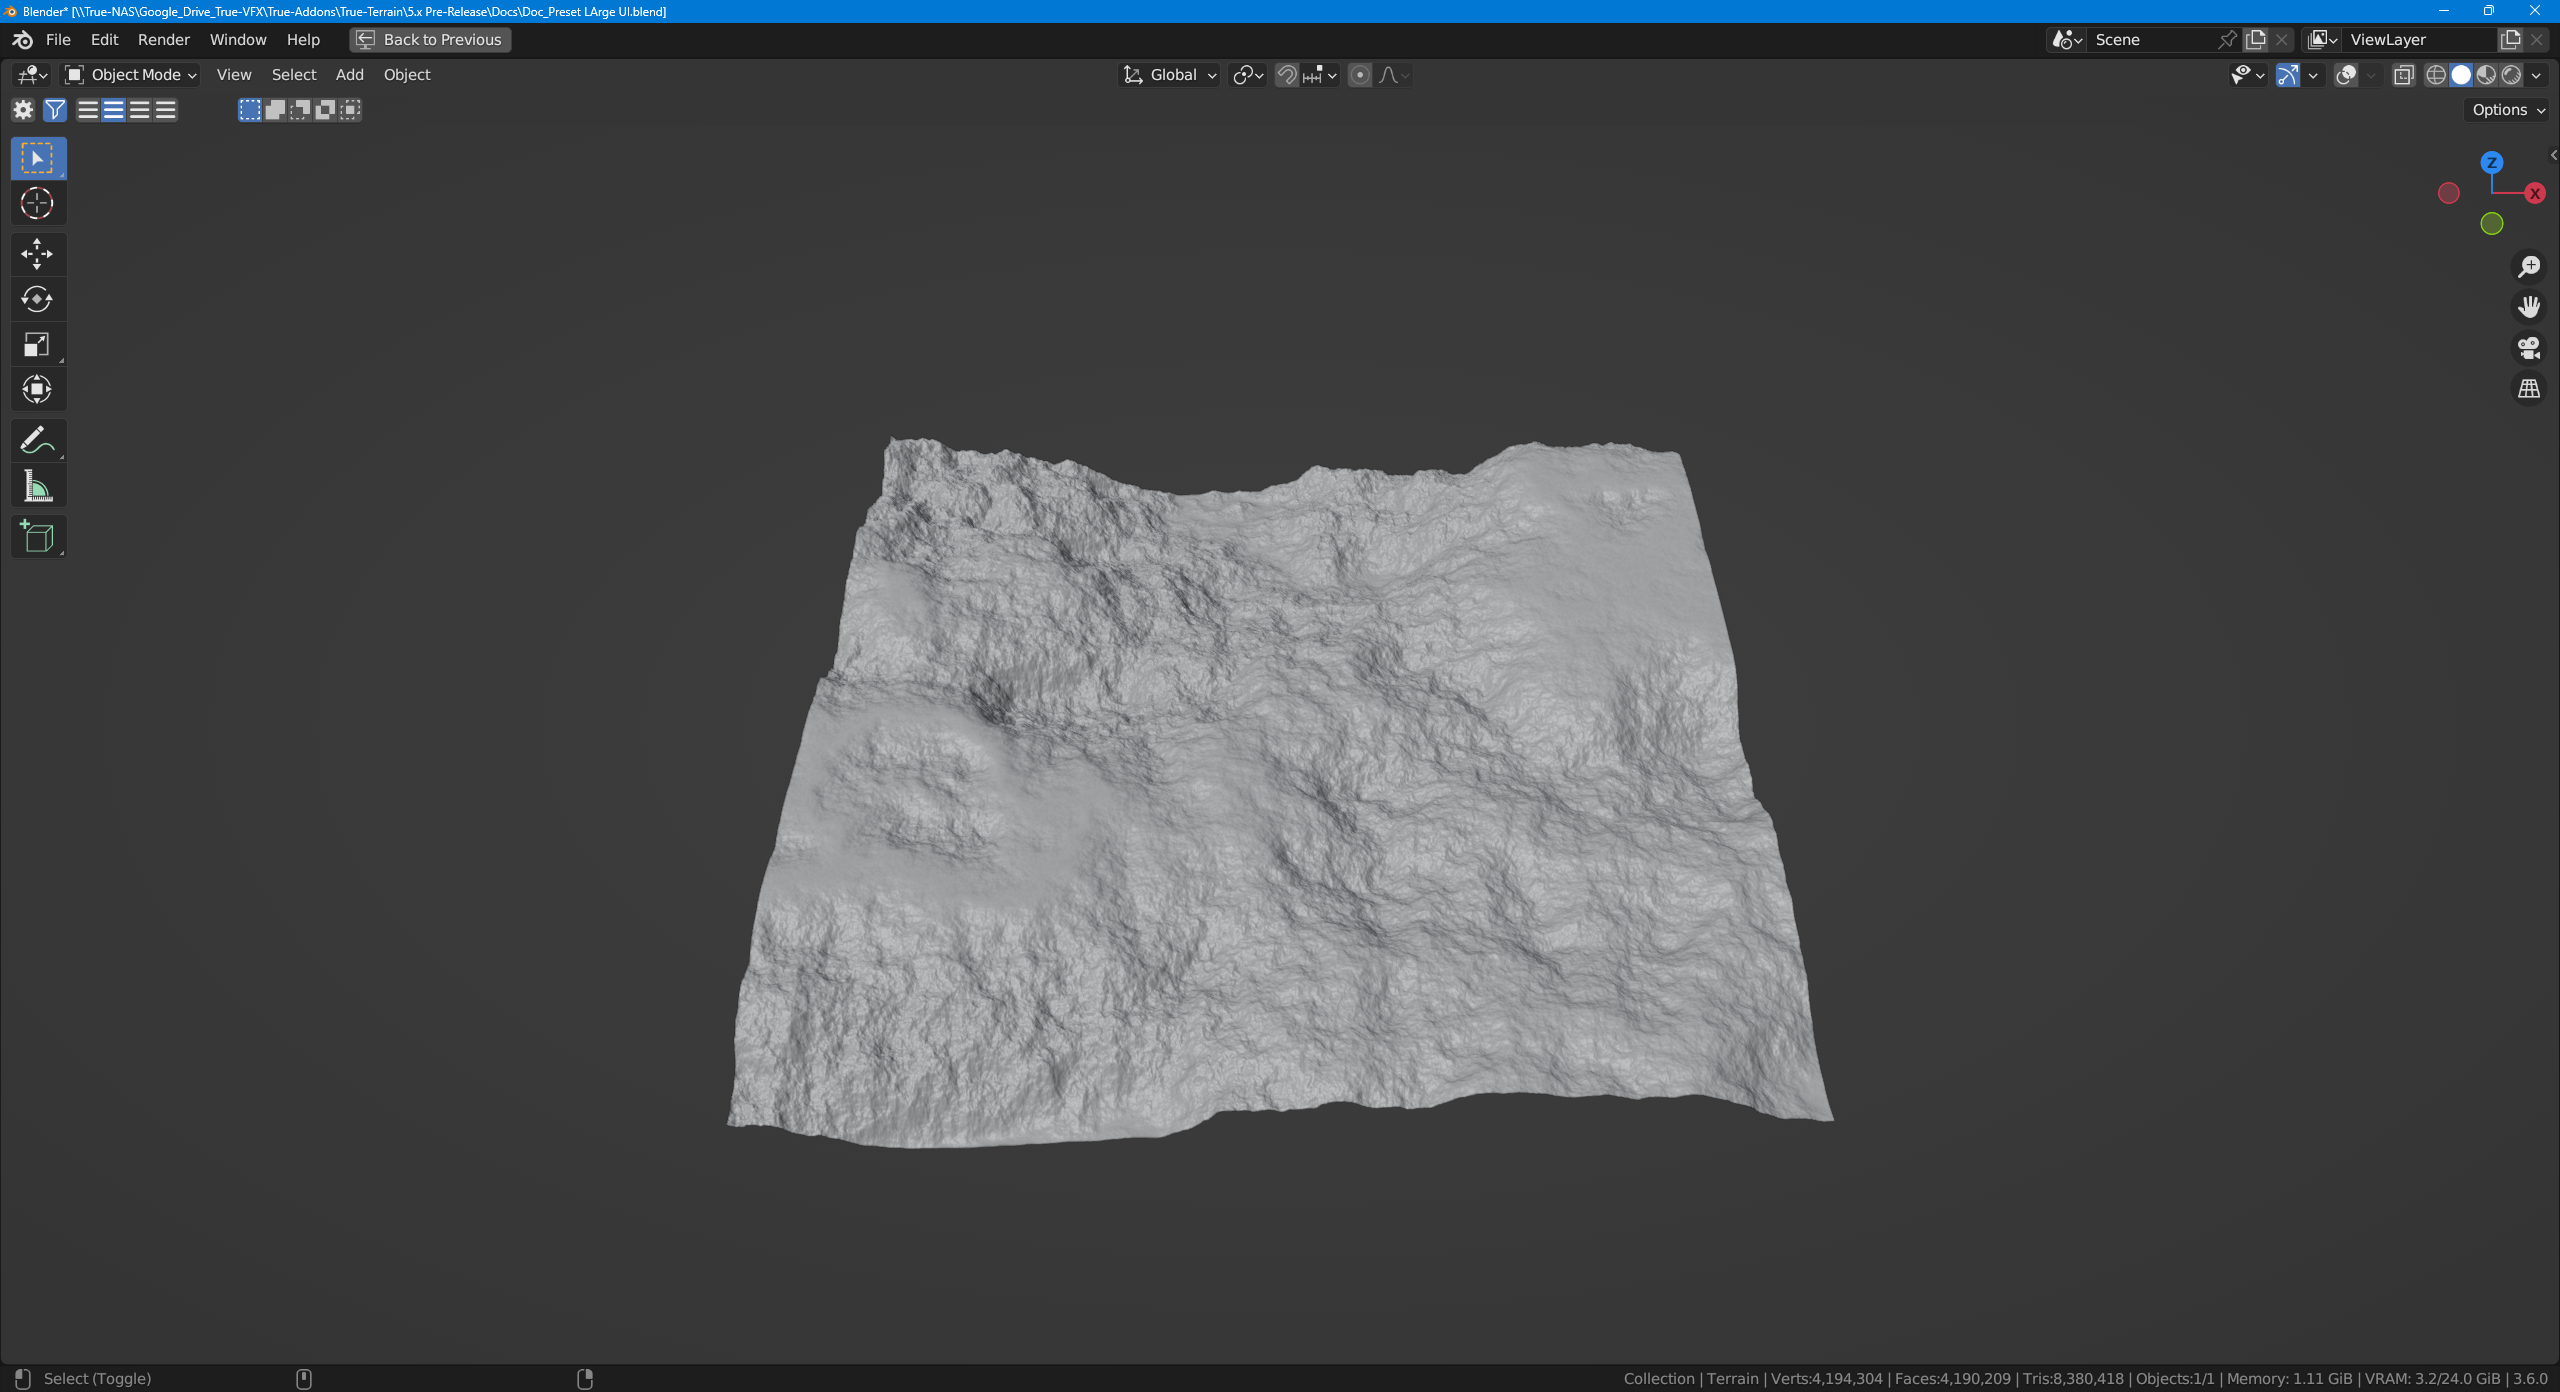
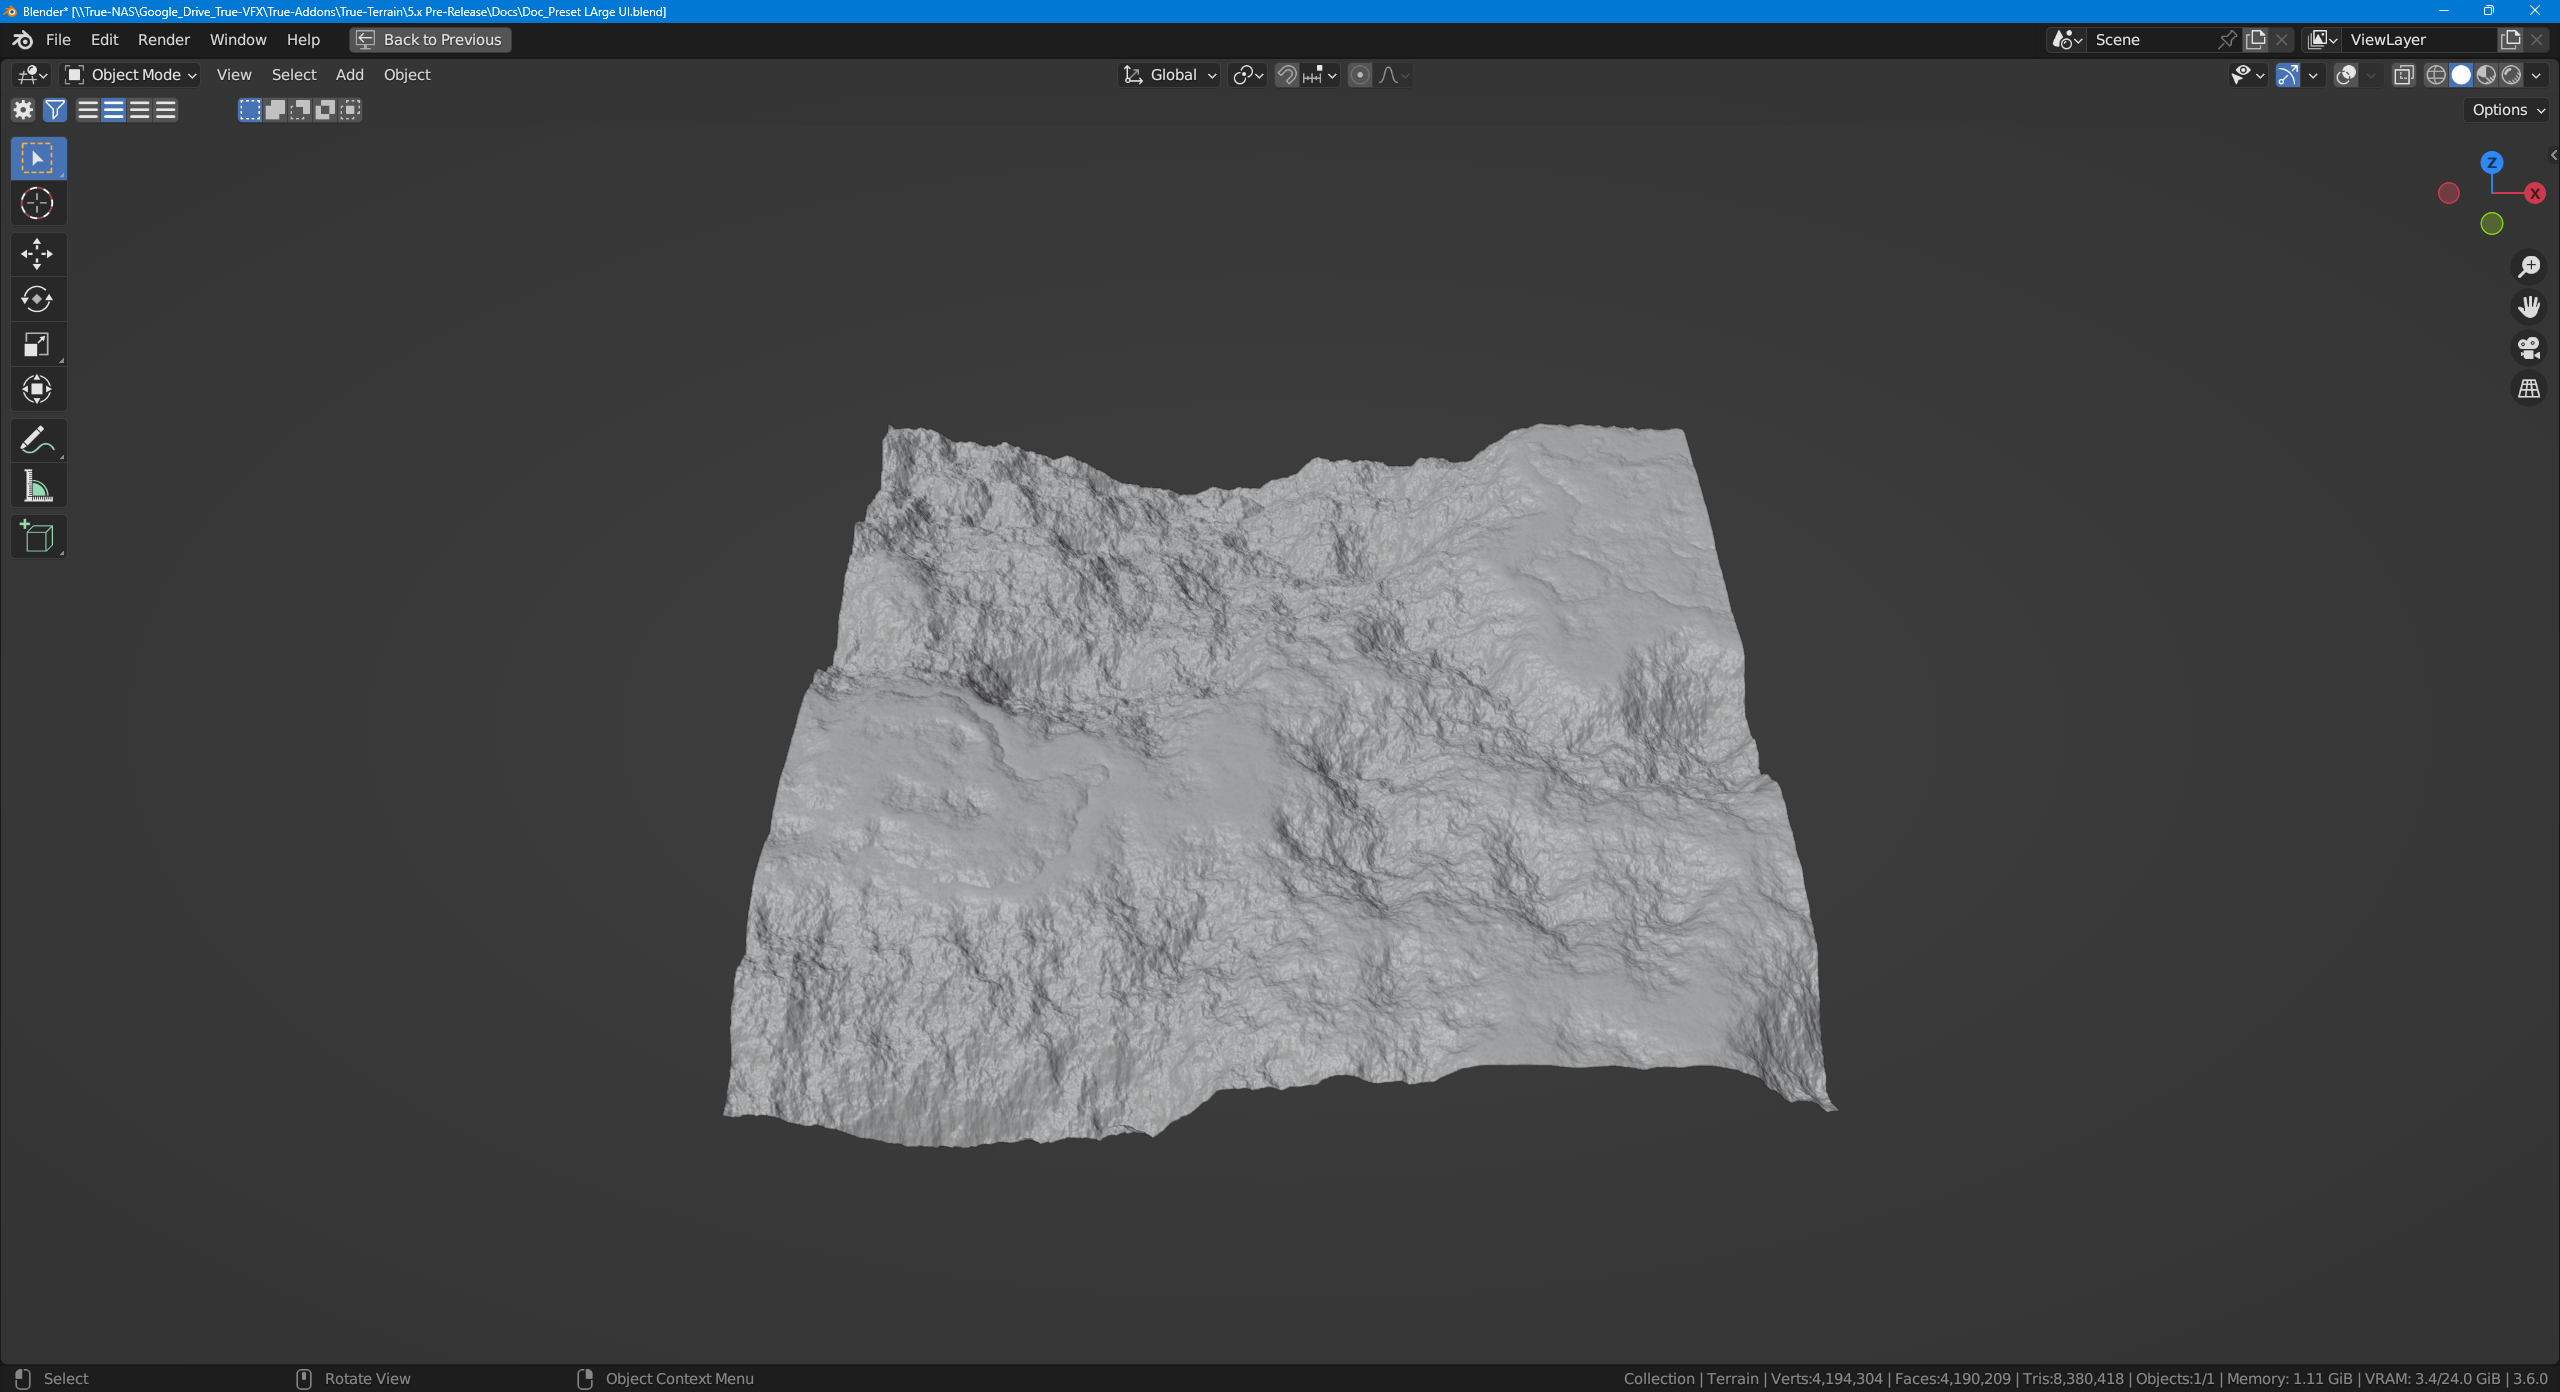
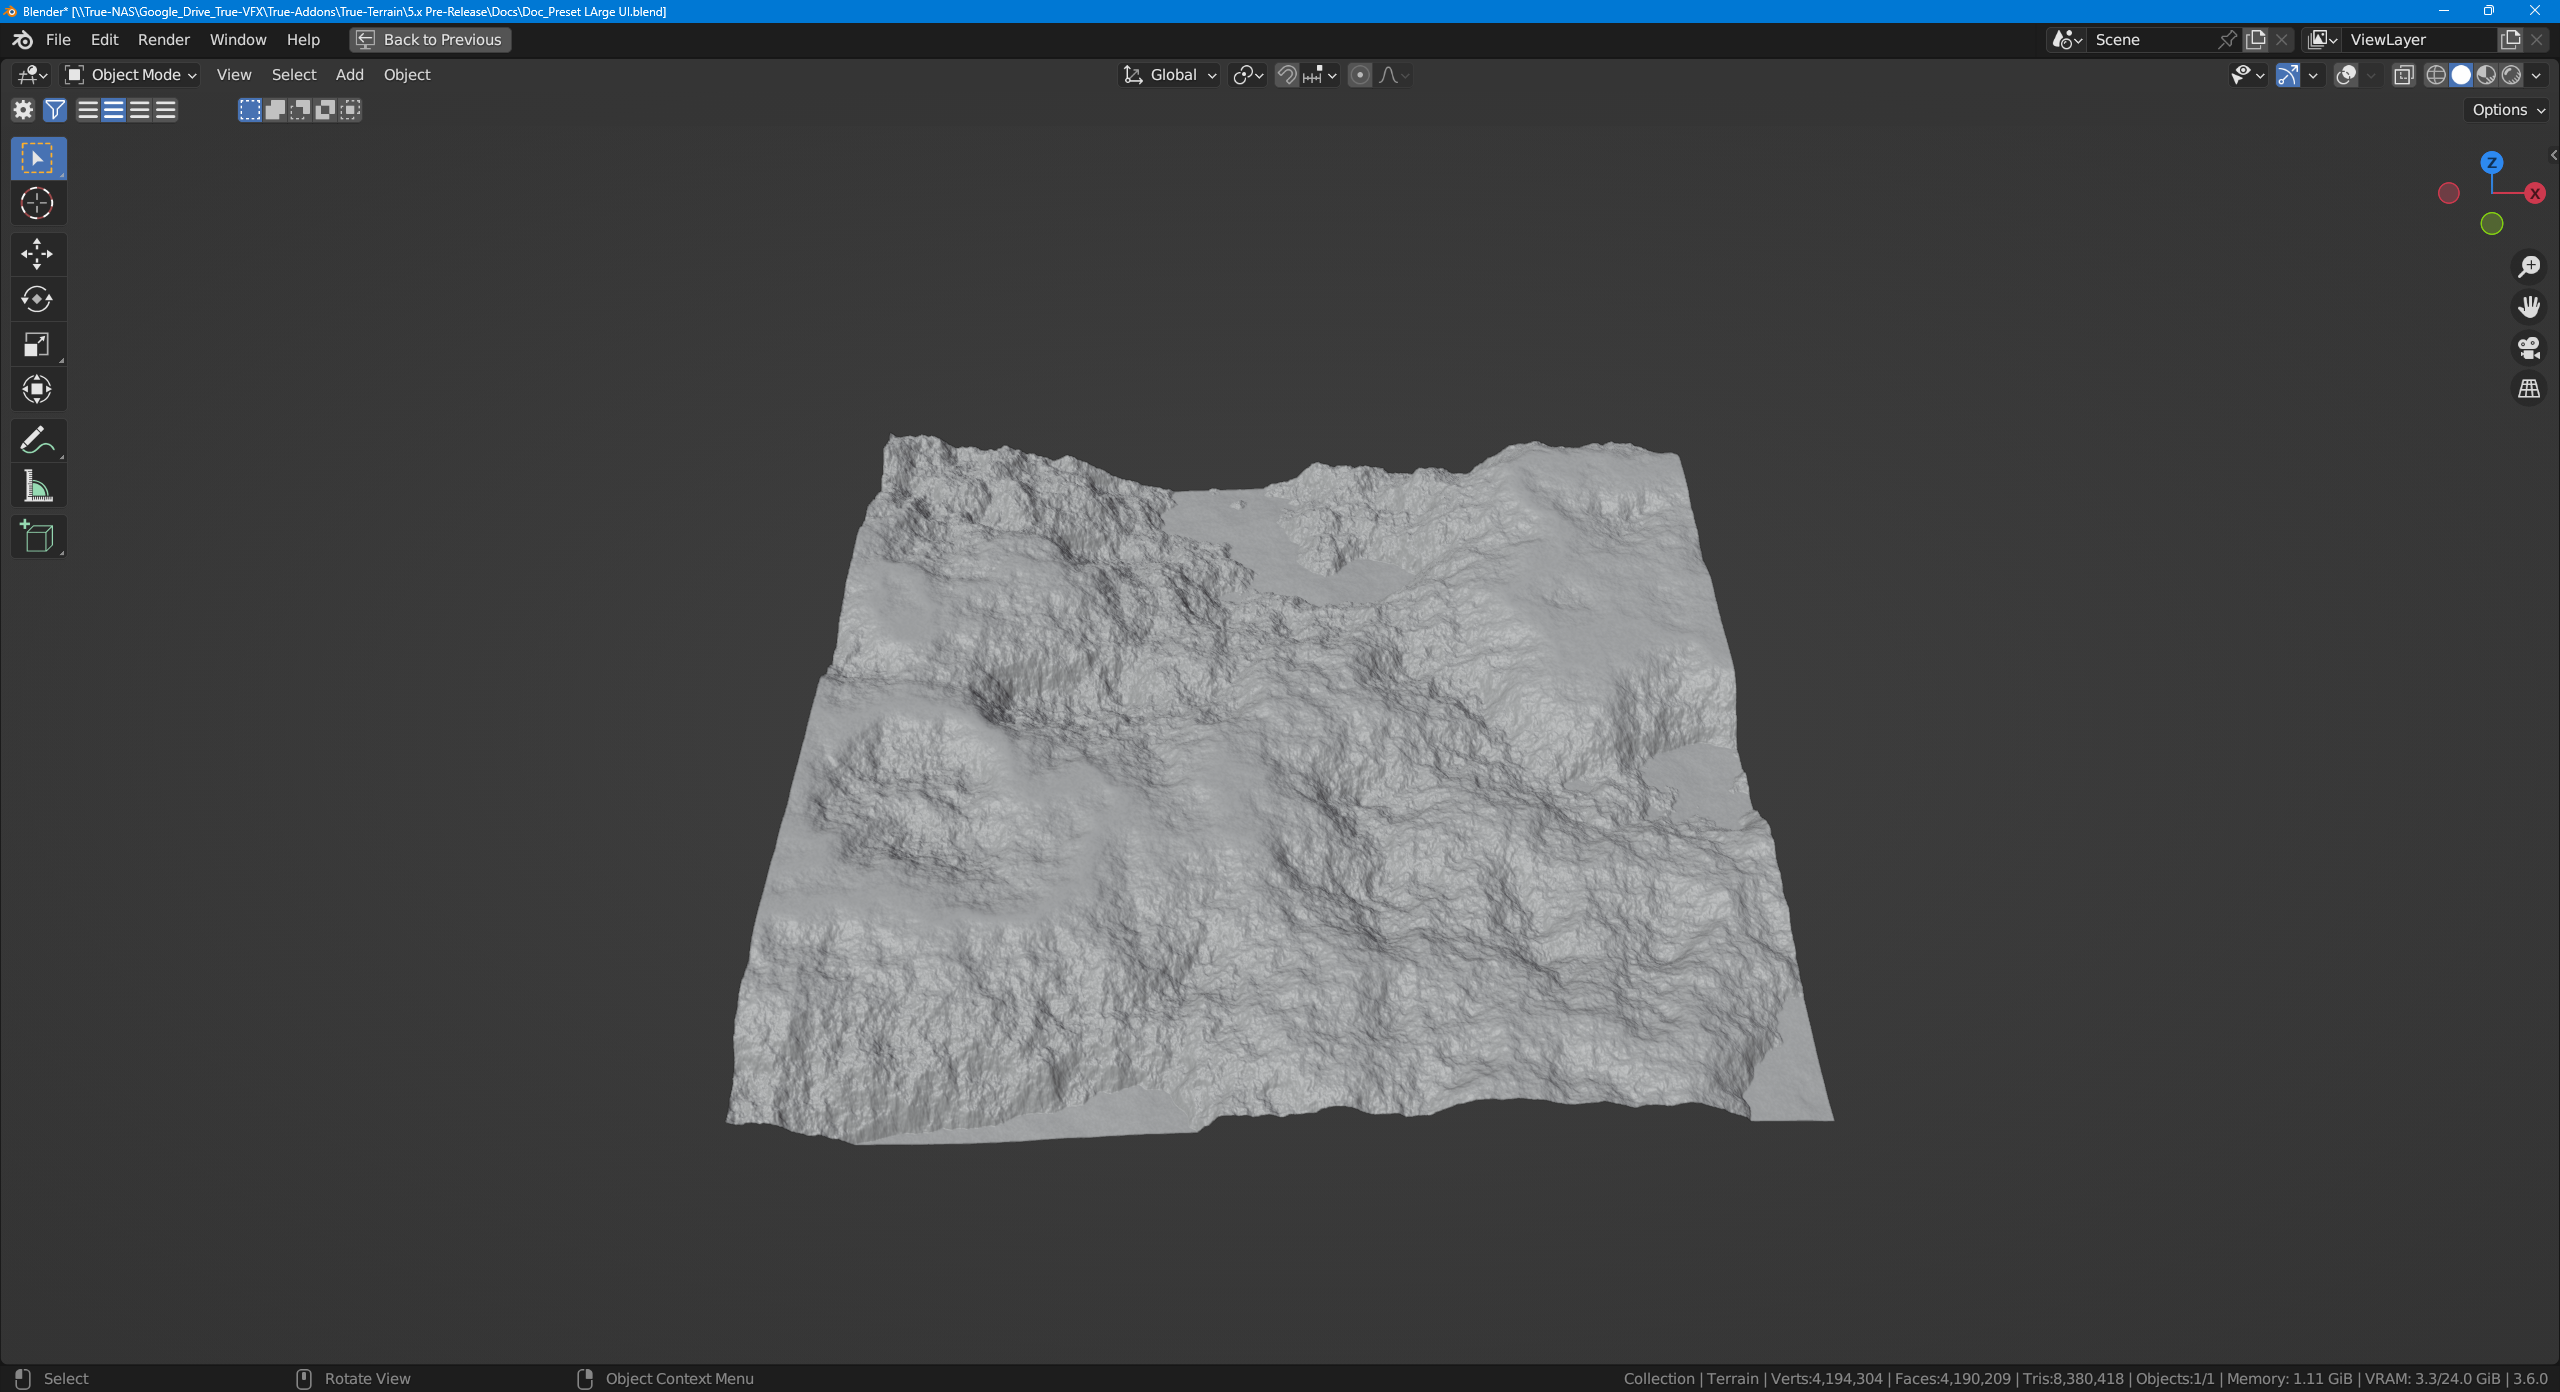
Noise Types
These are visualisations of the main noise function. Not the Sub-noise options

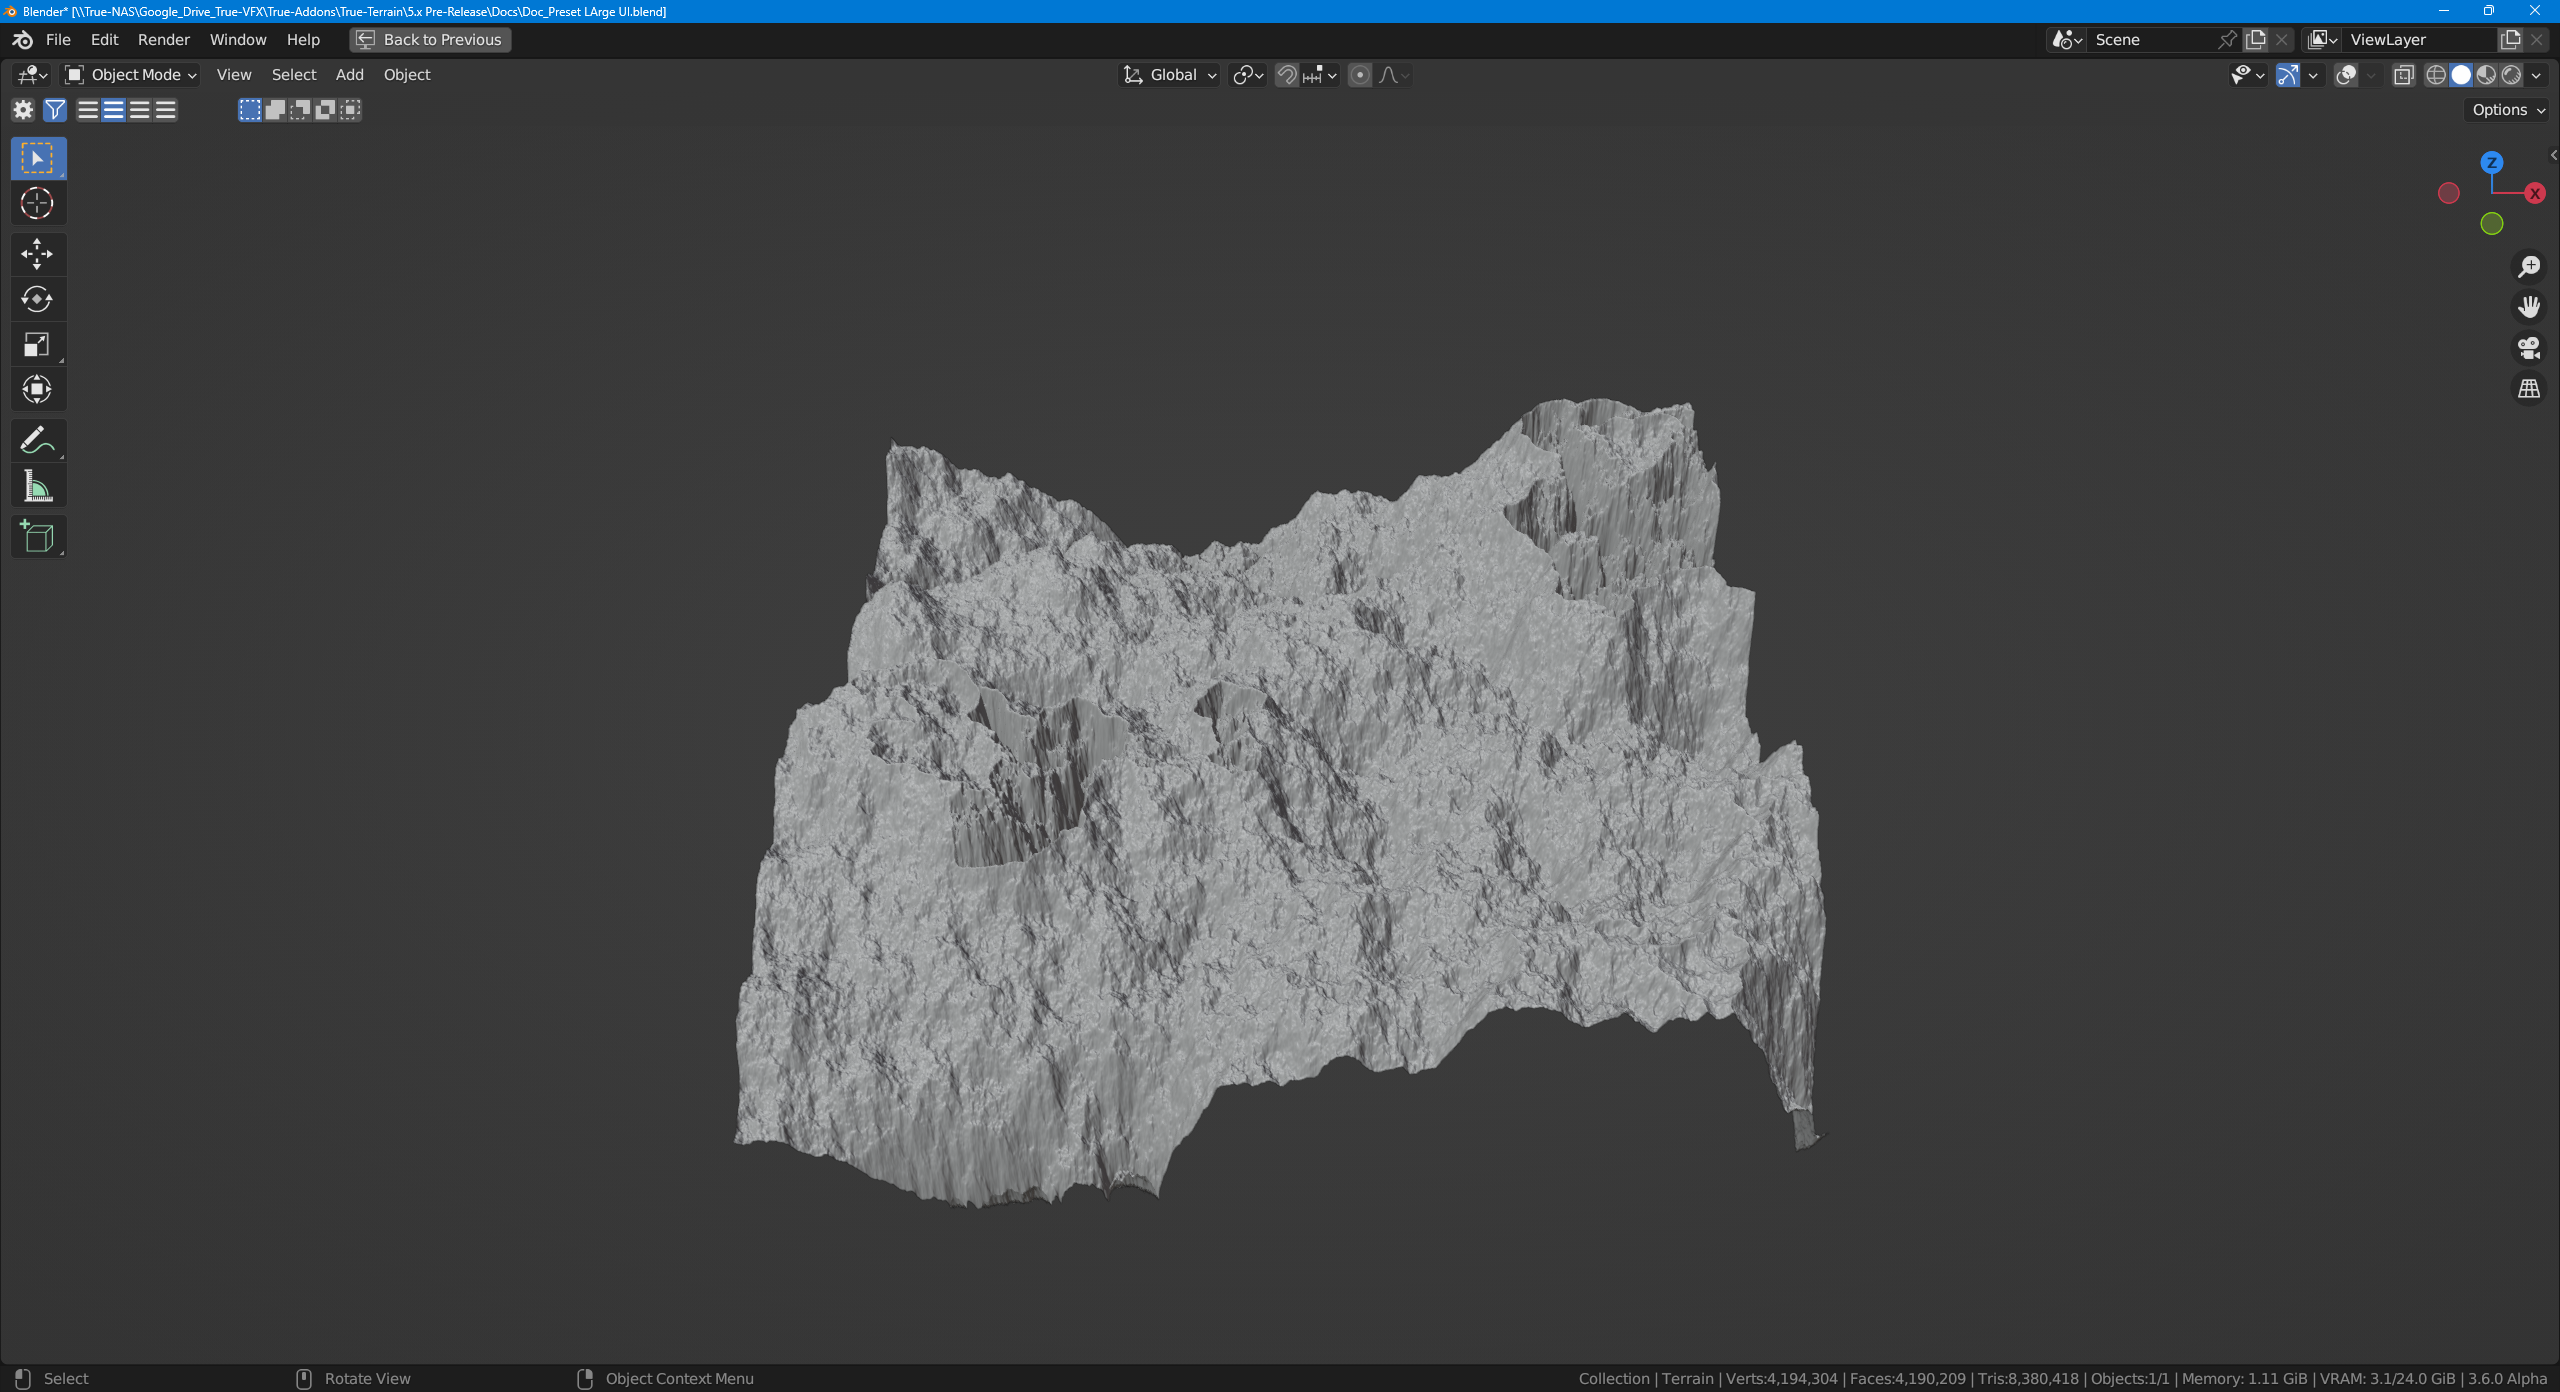
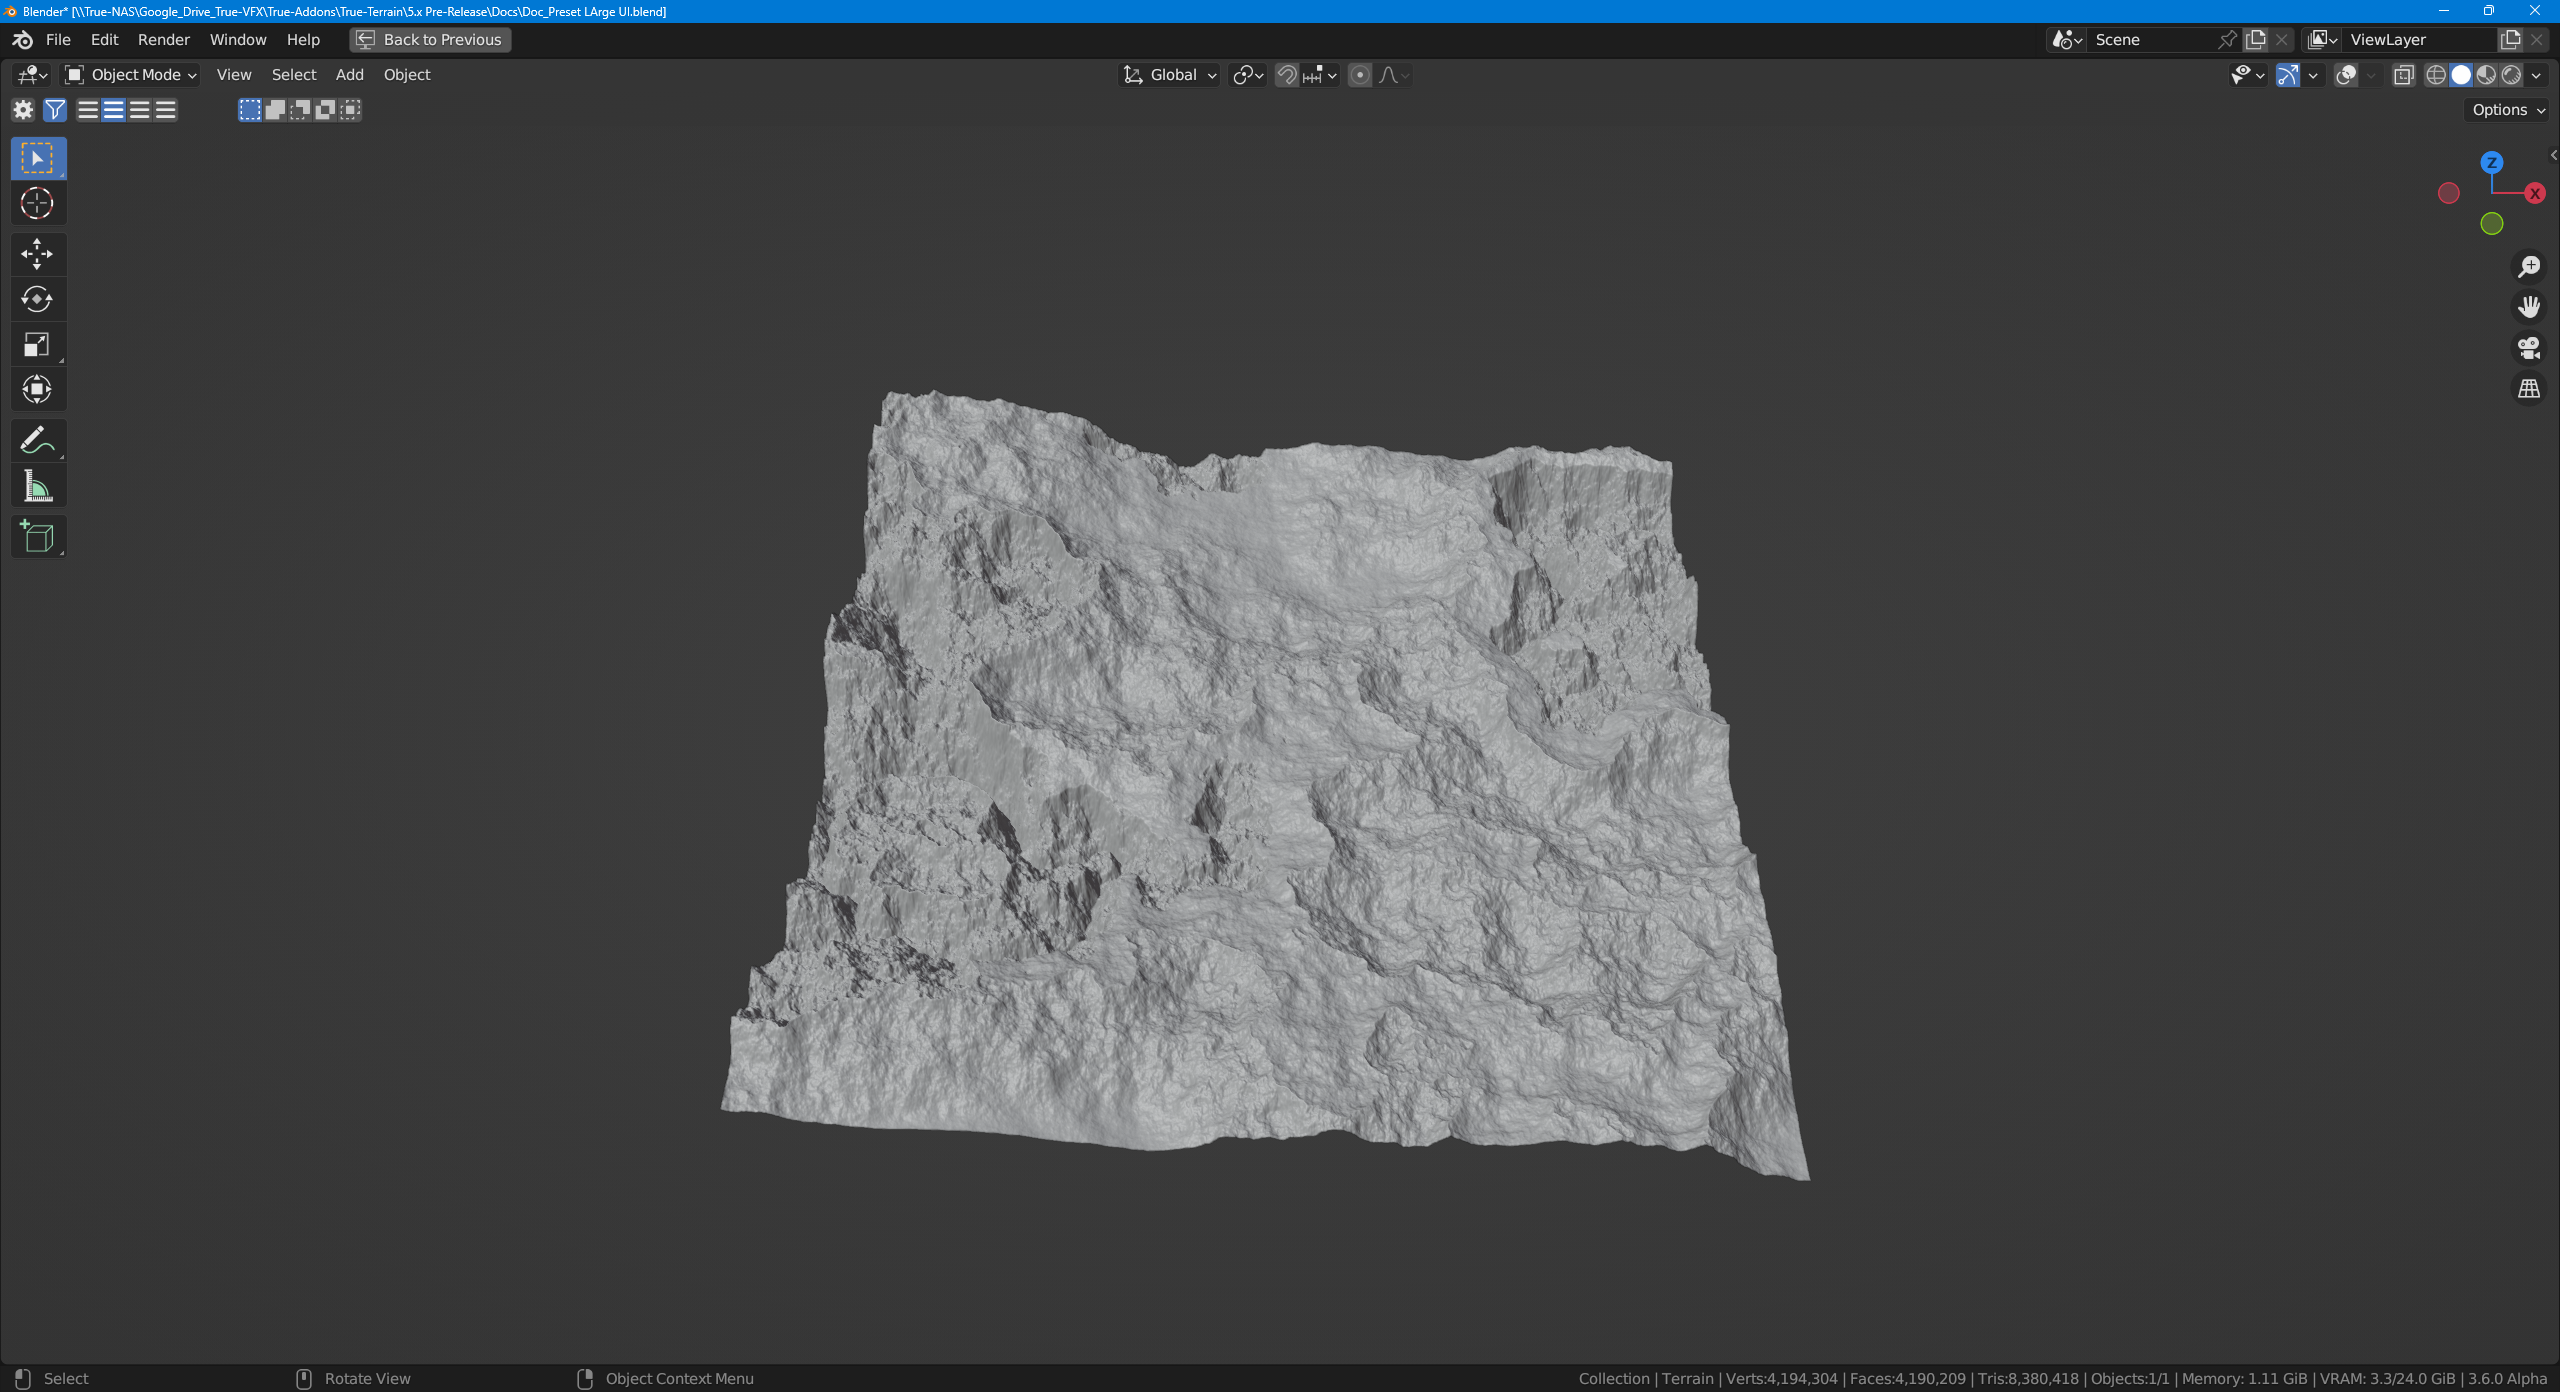
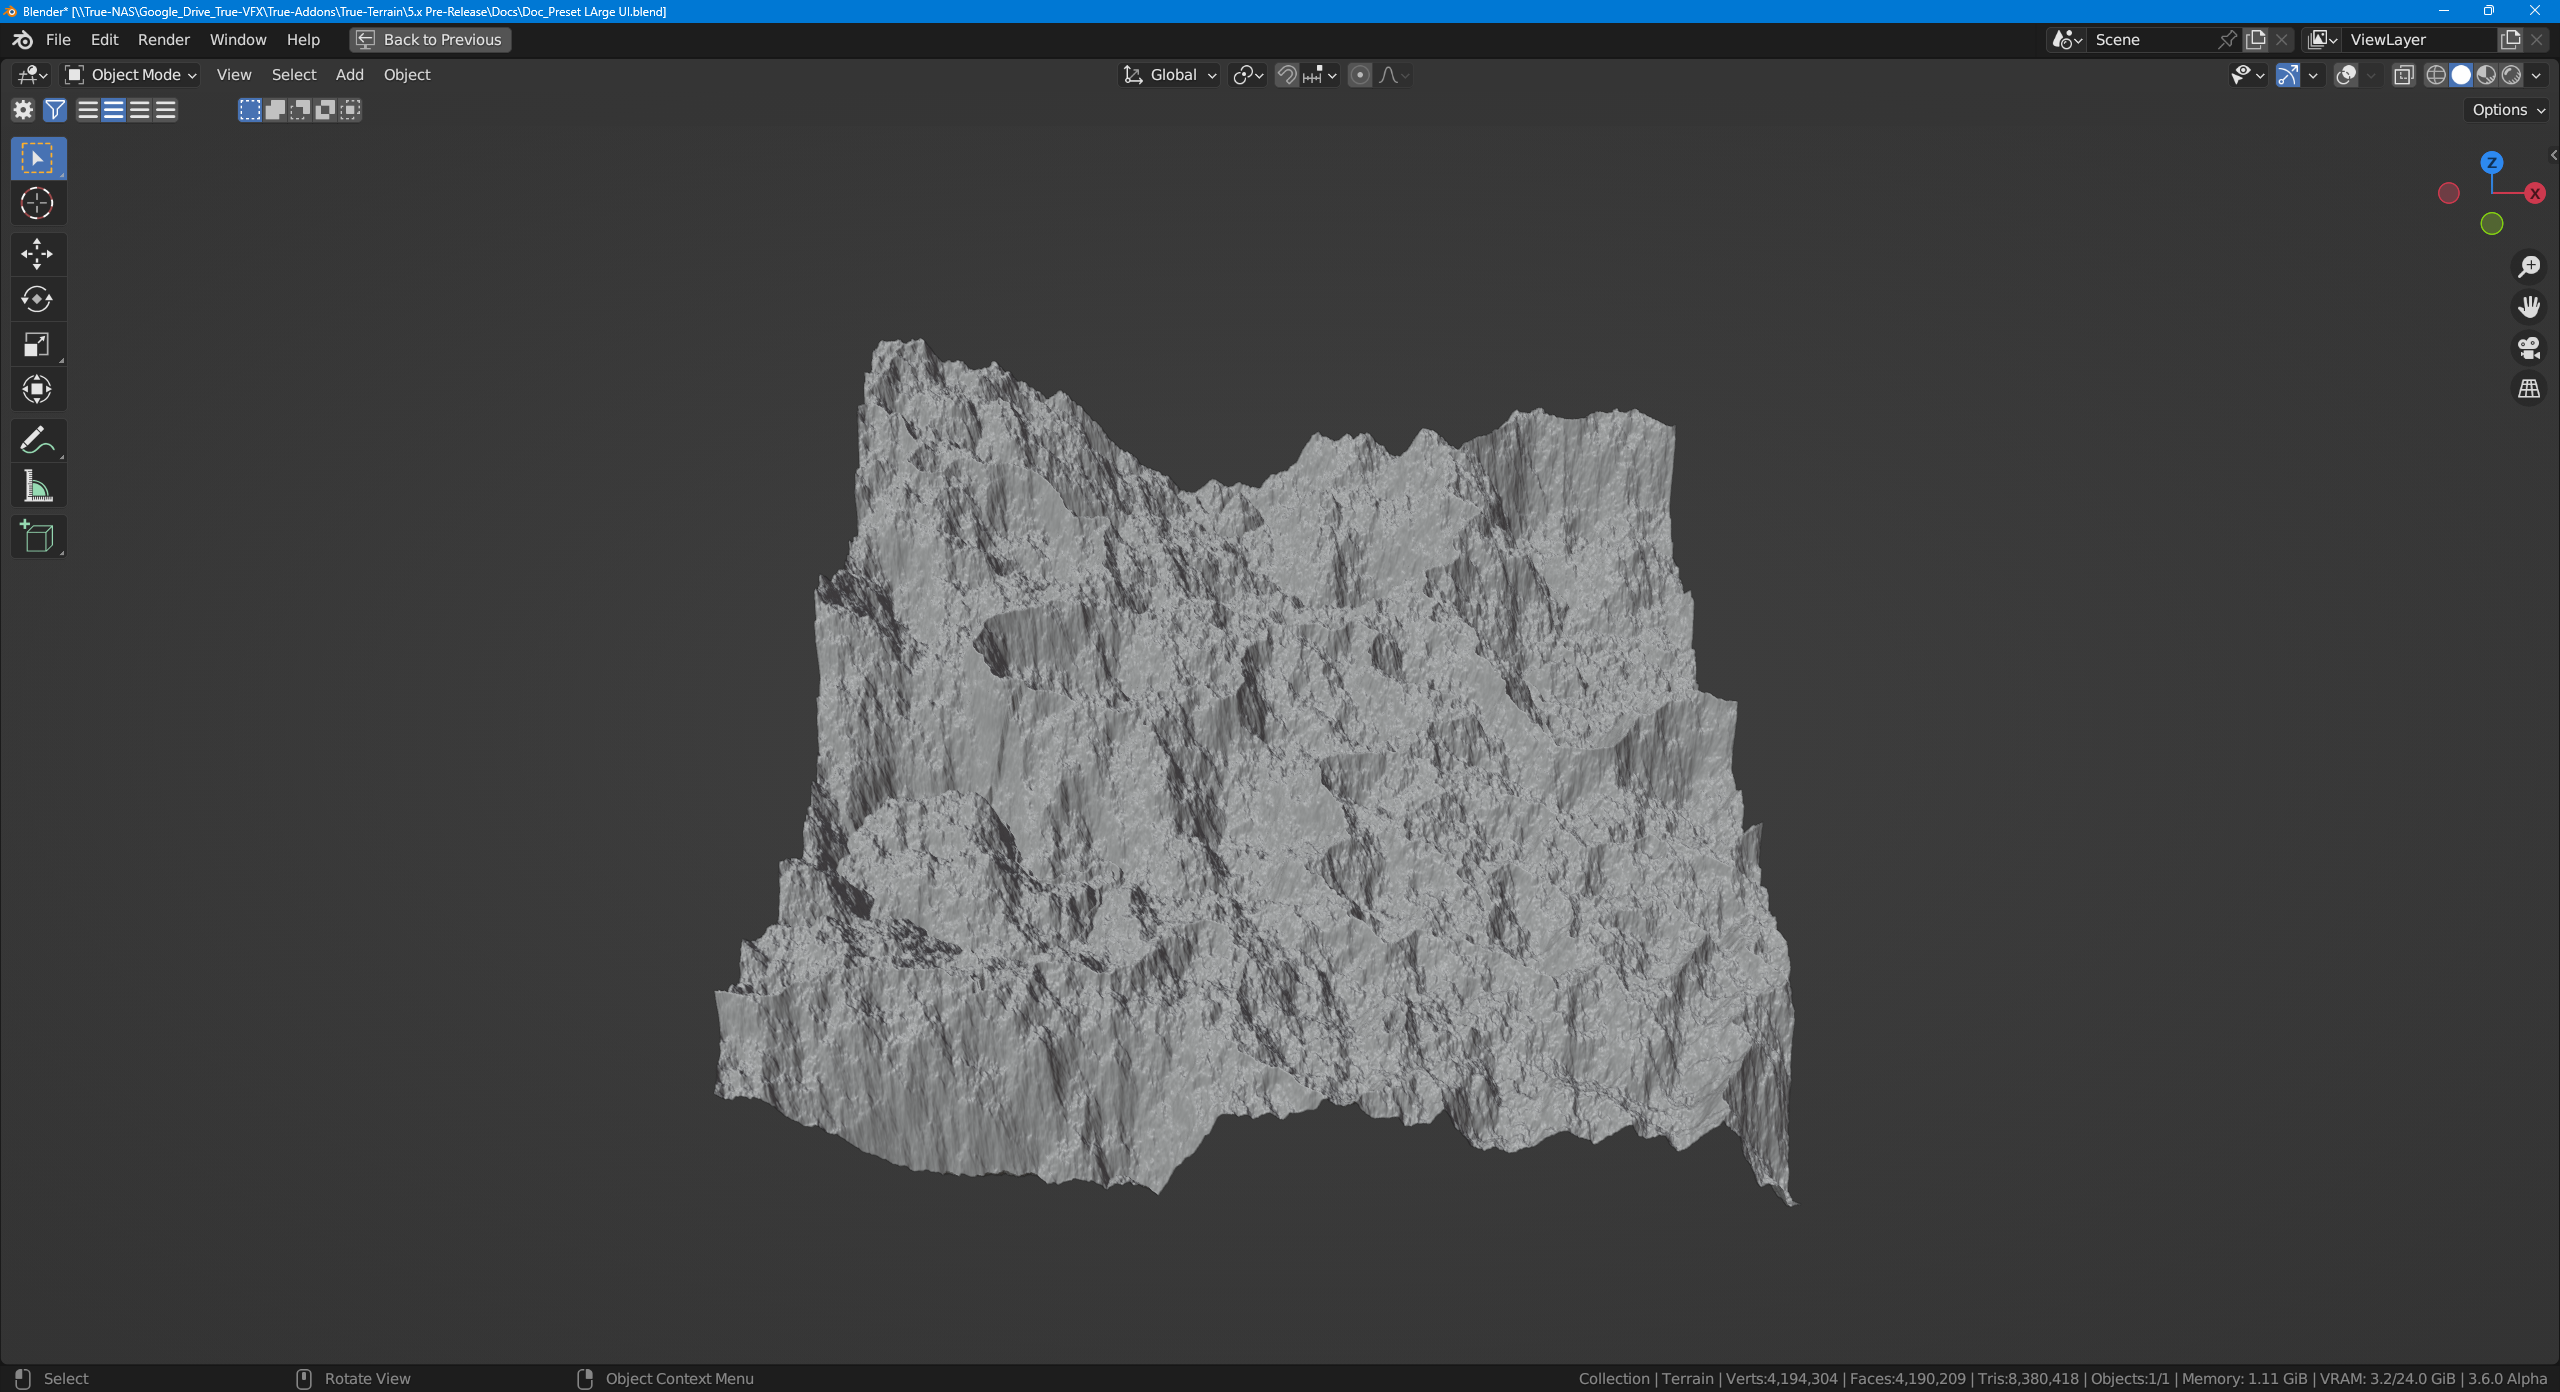
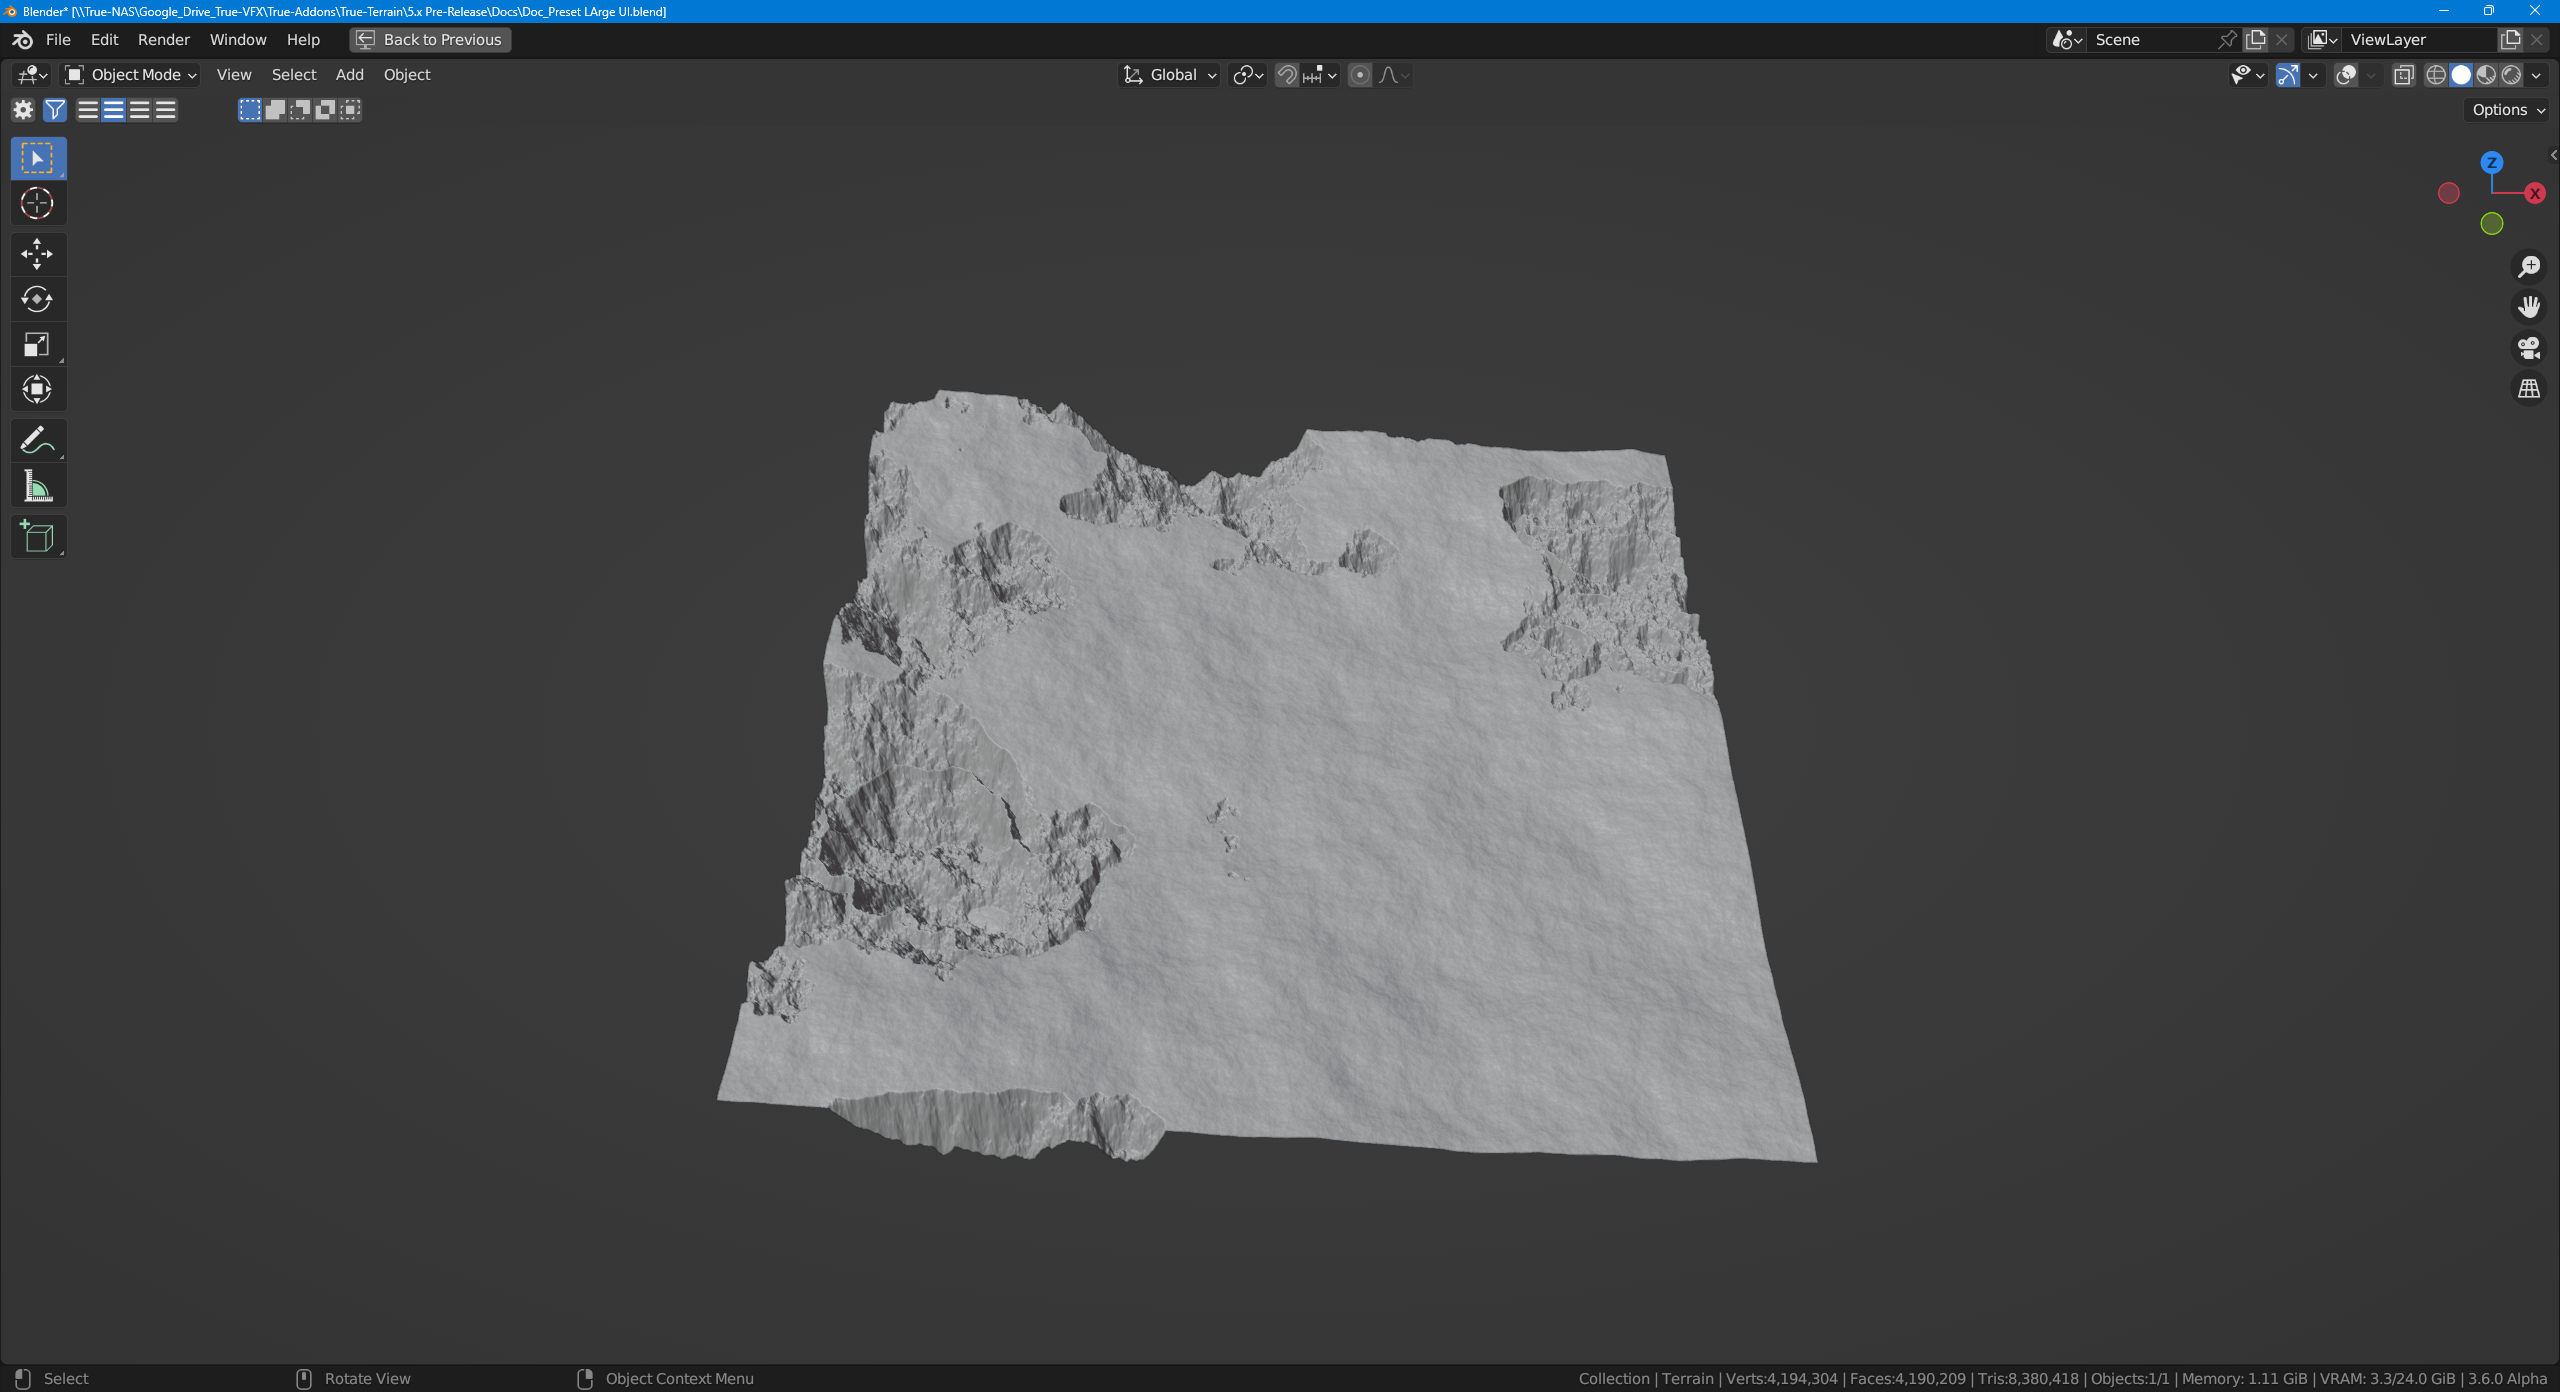
Height Map
Opacity
How much this layer is visible
Image
Choose an image already opened in Blender to displace the terrain. Start typing to search for an image. See Height Map Picker to use installed height maps.
Height Map Picker

To select a height map installed in True-Terrain 5, access the Image picker and click on the square located to the far right. This action will prompt a popup window to appear, enabling you to choose from the available height maps currently installed in the system.
Extension
How the image is extrapolated past its original bounds
- Repeat: Repeat the image horizontally and vertically (tiling).
- Extend: Extend the image by repeating the pixels on its edges.
- Clip: Clip to the original image size and set all the exterior pixels values to transparent black.
- Mirror: Repeatedly flip the image horizontally and vertically.
Height Multiplier
Increase/decrease the maximum height of this layer.
Midlevel
Boost overall height. This is just addition.
Outside Height
Change the height outside of the image. Useful when the blending is set to maximum or minimum. Only works if the Extension is set to clip.
Size
Effectively a duplicat of the scale setting in the transform area. This setting helps keep the transform data similar and as expected across layers. Also, some modifiers work better with this separation and will provide expected and consistant results across all layer types.
Transform
These settings will move, resize, and rotate the height map around.
Transform: Reset to Origin
Reset the active layer's center to the object's center regardless of the transforms of its parent(s), ie when the location values are at (0,0) is where center or origin of the terrain object is
Transform: Reset to Parent
Reset the active layer's center to its parent's center, ie when the location values are at (0,0) is where its parent's center is
Gizmo
The transform settings are also controlled by the onscreen transform gizmo. The gizmo will stay at the direct center of the height map. Unique to the Height Map layer's gizmo is the white outline which will show the dimensions of the height map. Useful for knowing the bounds of the height map when they are obscurred by other layers.
Material Settings
When employing True-Terrain for both geometry and shading, with the layer being a height map, the application utilizes this height map as a bump map. This approach enables the rendering of intricate details present in the height map but not entirely visible due to terrain resolution limitations. The controls to manage this bump map can be accessed through the provided settings:
Detail Type Choose the type of image the application should use
- Height Map - use the same image this layer uses as the detail
- Normal - Choose a normal map to use instead. CURRENTLY DISABLED
Strength Strength of the detail effect
Plateaus
This layer will scatter procedural plateaus across your terrain.
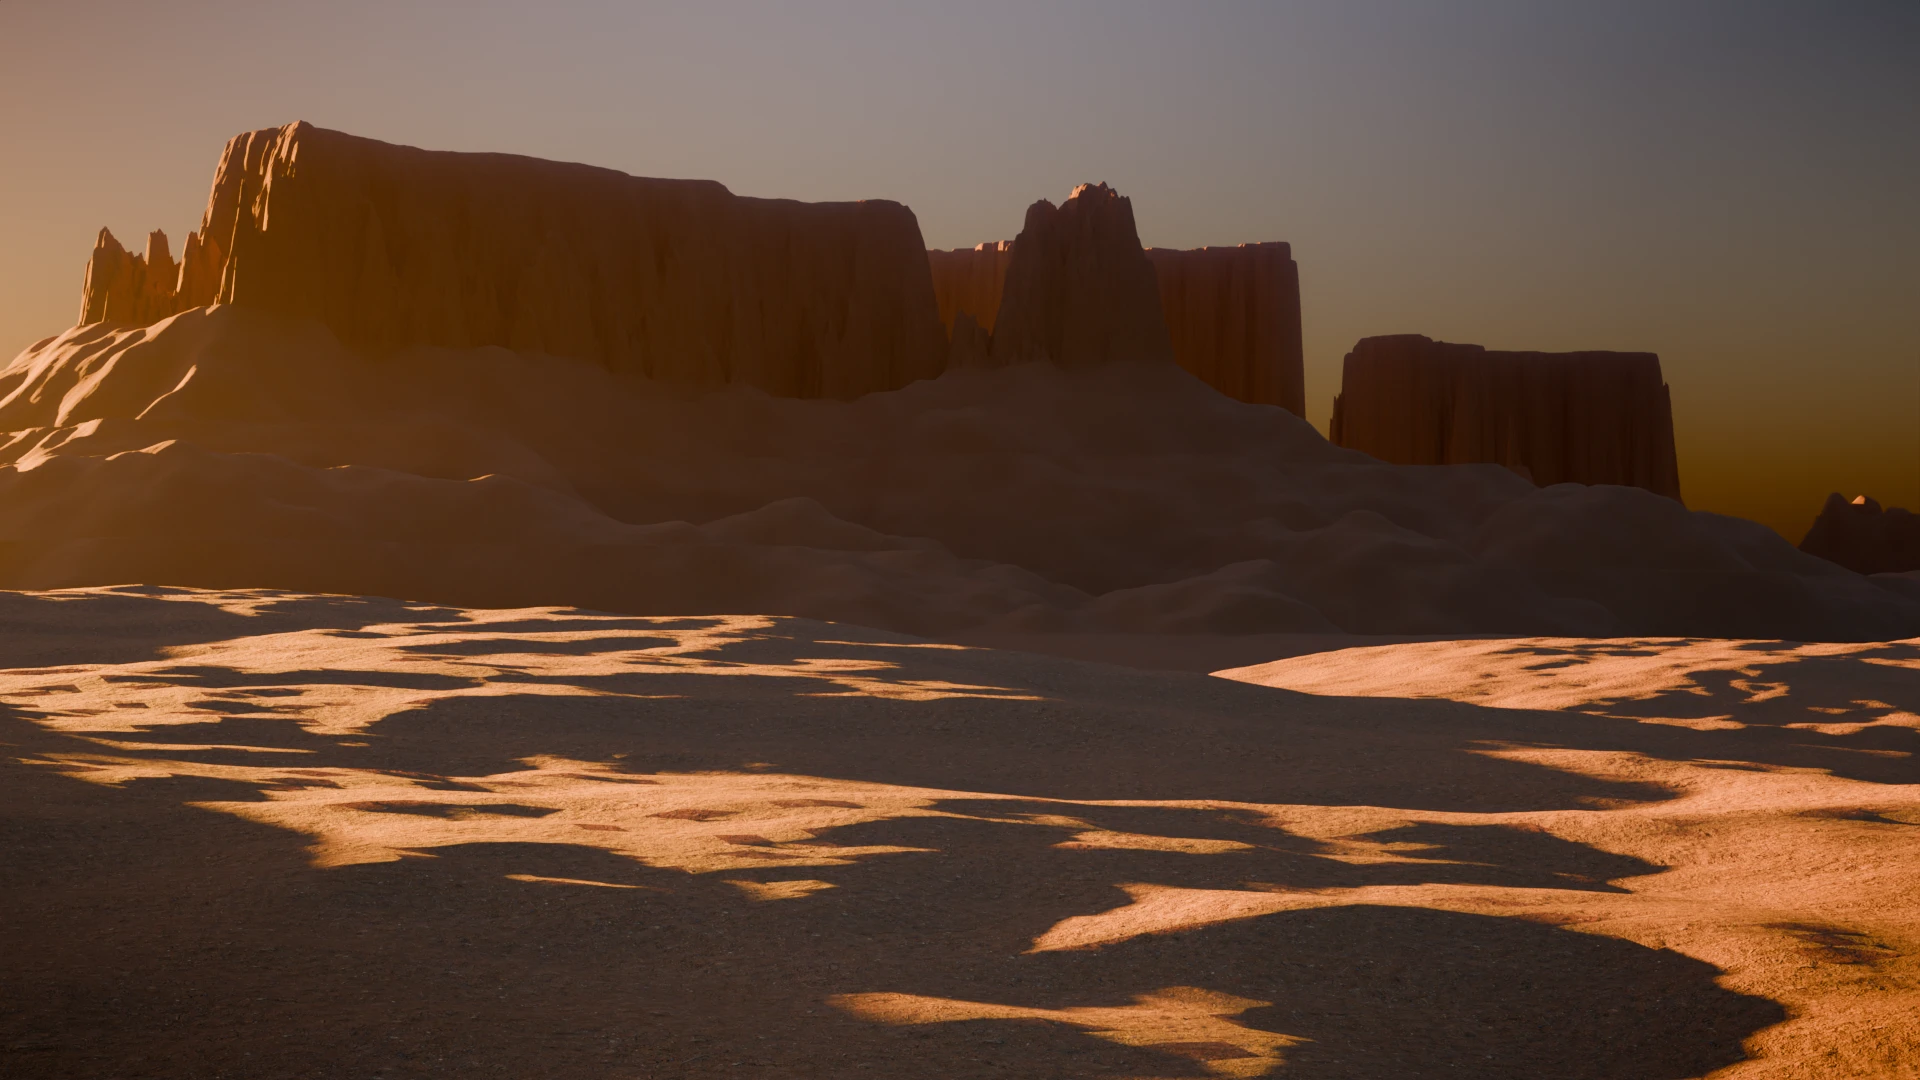
Submit your own, better example of the Plateau Layer to be featured here!
Height Multiplier
Increase/decrease the maximum height of this layer.
Plateau Scatter Type
- Fixed: Use a static number of plateaus
- Density: Use a number of plateaus that should exist per Blender unit
Plateau Count
The number of plateaus to add to the terrain
Count Density
The amount of plateaus per Blender Unit. Default is set to approximately 6 plateaus per 1000 units
Distance Min
The minimum distance a plateau can be from another plateau. This may reduce the number of plateaus even if Plateau Scatter Type is set to fixed.
Seed
Randomize the positions of the plateaus
Radius
The size of each plateau.
The following settings are visible in the drop down menu to the right of the Radius setting
Cap Radius
Don't allow the base radius to be larger than half the distance between the center of a plateau and its nearest neighbor. Currently radius variance will expand beyond this.
Variance
Vary the radius of each plateau.
Range
The amount subtracted from the Radius setting to vary each plateau between.
Ex: Radius=200m, Variance Range=40m, Each plateau's base radius will be between 160m and 200m
Amount
Easily reduce the amount of variance. Somewhat redundant but gives an easy way to do it.
Seed
Randomize the variance per plateau
Noise
Edit the settings of the procedural noise that helps give the plateaus their shape.
KNOWN ISSUE: Rotating the layer will change the shape of the plateaus.
Amount
Reduce the strength of the noise on the plateaus. An amount of 0 will be rectangle like shapes.
Scale
Change the scaling of the noise. The larger the noise the more the column like plateaus there will be.
Seed
Randomize the noise per plateau
Height
The max height a plateau can be.
The following settings are visible in the drop down menu to the right of the Height setting
Variance
Amount
The amount a plateau can deviate from the max Height. (Height - Variance Amount)
Ex: Height=300m, Variance Range=40m, Each plateau's max height will be between 260m and 300m
Min Amount
Don't allow a plateau to go below a certain height. Allows for multiple plateaus to be at lower heights.
Seed
Randomize the height per plateau
----
Surface Factor
Increase or decres the surface level of the plateau's top
Slope Factor
The sharpness of the slope of the plateau cliff
Alluvial Fan
The alluvial fan is the eroded sediment that piles up around the base of a plateau.
Use Alluvial Fan
Enable or disable the fan.
Height %
Percentage of the plateau's height that should be covered by the alluvial fan.
Slope Factor
How steep the fan is. Sorta like how far out from the plateau the fan reaches but may also change the highest point it reaches.
Smoothing
Blur/smooth out the fan. Useful if plateaus are too close together and jagged lines appear at their borders.
Noise Amount
Add noise back into the fan. Useful when the Smoothing factor is in use.
Alluvial Fan Terracing
Often the alluvial fans of plateaus have terracing or stepping to it.
Use Alluvial Terracing
Enable or disable fan terracing.
Terrace Height
Distance between each flat surface
The following settings are visible in the drop down menu to the right of the Terrace Height setting
Variance
Adjusts the height range (variance +/- the Terrace Height) for terrace randomization per plateau.
Amount
Easily adjust the variance amount.
Seed
Randomize the terrace height per plateau.
Width
Increase/decrease flat surface area
The following settings are visible in the drop down menu to the right of the Width setting
Variance
Adjusts the width range (Width +/- variance) per plateau
Amount
Easily adjust the variance amount
Seed
Randomize the terrace width per plateau
Offset
Move the terraces up or down without adding more in
The following settings are visible in the drop down menu to the right of the Offset setting
Variance
The amount +/- offset a plateau's offset can be randomized by.
Amount
Easily adjust the variance amount
Seed
Randomize the terrace offset per plateau
Texture
Height Multiplier
Increase/decrease the maximum height of this layer.
Midlevel
Boost overall height. This is just addition.
Texture Type
Choose the type of texture to use.
Pick RGB
Instead of using the `Fac` output of the textures choose from the RGB values if the node outputs a color. Typically allows for different results from the same settings.
Texture Settings
Here will display the available settings for the active texture type. See the Blender manual for each texture's settings.
Brick
Checker
Gradient
Magic
Musgrave
Noise
Voronoi
Wave
White Noise