
Getting Started
First time using True-Terrain
The first thing you need to do is to either select an object or create an object
Create Landscape
The user can either use the Height Map, A.N.T (an addon built into Blender), or NodeScapes (another custom landscape Tool from the Developers of True-Terrain).
If NodeScapes is not there it's because it is not been bought/installed! Get it on Blender Market
The user will see the options to either Create a Landscape or Create Water.

Create Landscape Using Height Map
Using at least 16 bit images is best when dealing with displacement otherwise you may end up seeing stepping in your landscape. Though if you're just going to cover it with grass and other asset it probably won't matter.
Clicking Create Landscape will bring up a file browser to select a heightmap image file. Once picked a plane will be created with basic a UV setup with a Displacement Modifier set to the selected heightmap. All changes after that will need to be done in the Modifiers section of the Properties panel.
If you scale up your mesh and then apply the scale you will then have to increase the Strength setting of the Displacement modifier
Create Landscape Using A.N.T. Landscape
If A.N.T. Landscape addon is not enabled you’ll see the UI in the image below. Click Eable A.N.T Landscape to use this.
- Once the A.N.T. Landscape addon is enabled Add Landscape will execute the A.N.T. Landscape landscape creation function. (A.N.T. Landscape is not a part of True Terrain. We are including it for ease of use)
Create Landscape Using NodeScapes
If NodeScapes is not there it's because it is not been bought/installed! Get it on Blender Market
If NodeScapes is installed you can use any NodeScapes preset to create a base landscape from the True Terrain panel
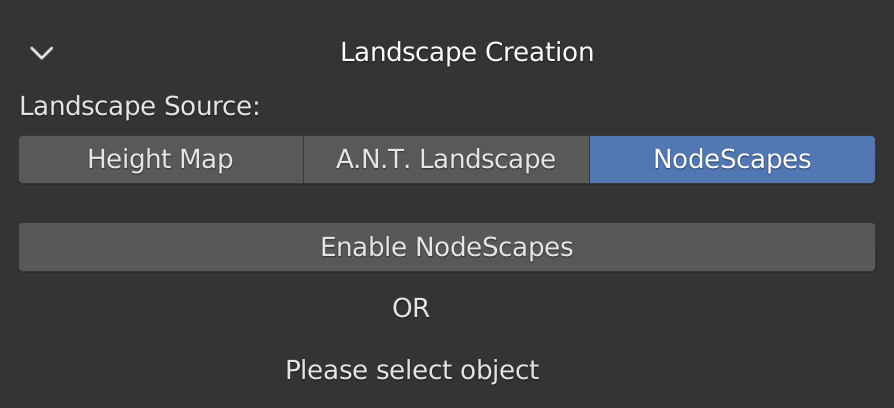
If NodeScapes is not enabled you’ll see the above image. See below on how to enable:
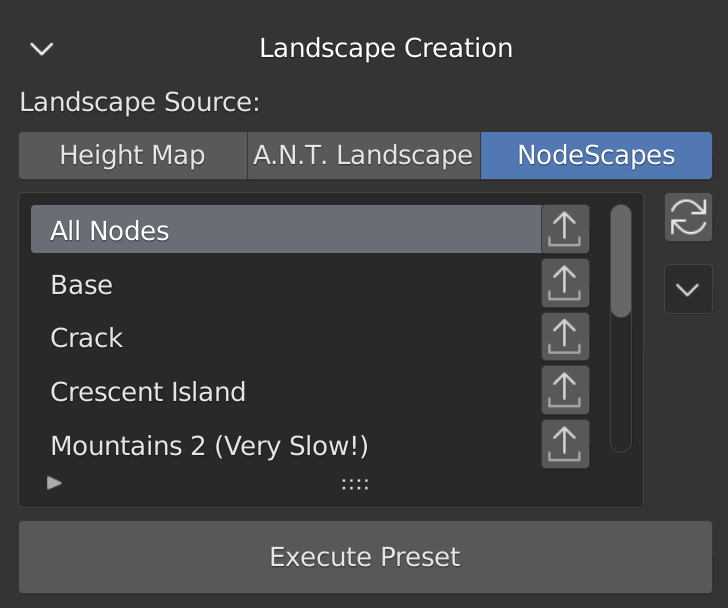
Once the NodeScapes addon is enabled you will see the presets you have loaded. Hitting Execute Preset will create a new object and apply the selected preset. If no presets are visible, hit the refresh button. The arrow button below the refresh button will give you options to import and export presets
Create Water

- Select the water type from the icons
- Click the “Add Water” button
- See the "Water" section for more information
Add a Material
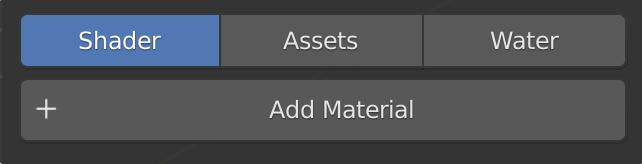
- Selecting an/the object will show you the “Add Material” button. Click to give the selected object the
- See the sections in to understand all of the material settings and functions
Add Assets
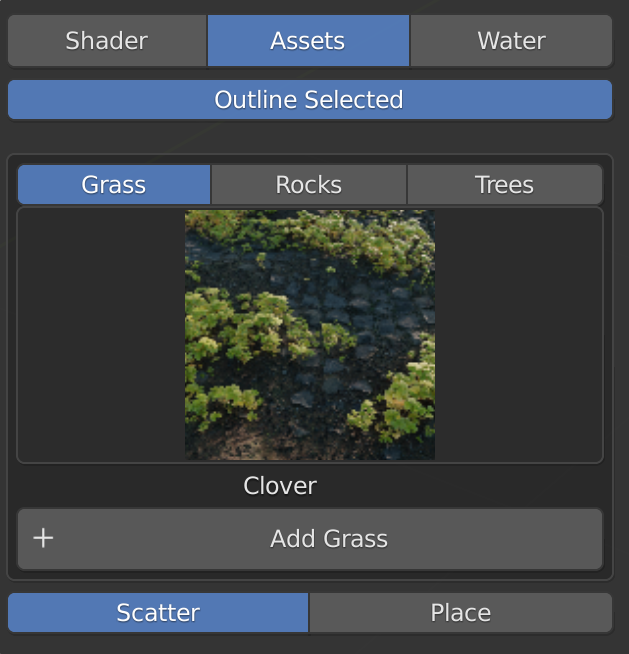
- Select your asset type by selecting the type in the menu above the icons
- Then select the or to choose how the asset(s) will be placed
- Then click the “+ Add (Type)” button
- View the or sections for more information
Add Water

- Select water type from the icons then click the “Add Water” button to create a water object
- See the section for more information